

Work as an Airbnb host, and you’ll receive an average hourly rate of around $18 (according to ZipRecruiter’s national average). Host with Turo, and you’ll pocket an average rate of $14 per hour worked.
Store at your house as a Neighbor Host, and you’ll earn an average of $294 per hour worked. Yep, you heard that right.
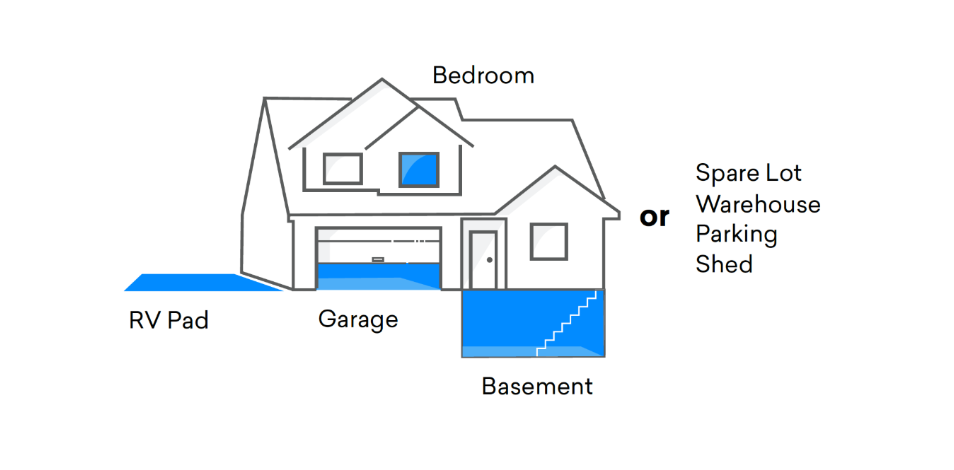
Doesn’t matter if you choose to store boxes, decorations, furniture, cars, RVs, boats, or motorcycles. You, too, can earn big bucks. All you have to do is rent your driveway, garage, unfinished basement, or unused land as storage space. And Bada Bing! Hassle-free $.
A growing number of Americans have side hustles (1 in 3 of all Americans, to be exact) – many of which live up to their name: hustle. Take it from me: I’m a side hustler with plenty of firsthand experience.
Whether I was working as a food delivery driver, a grocery delivery driver, or a rideshare driver, I spent hours on end waiting: waiting in lines, waiting in traffic, waiting for customers to respond to my “I’m here” message, and the list goes on.
Then Neighbor came along and changed the side hustle game. Neighbor is the no-hustle-side-hustle where customers come to you.
For an inside look into how I got people to come store at my house using Neighbor’s peer-to-peer marketplace, keep reading. (Spoiler alert: I’m generating hundreds in passive income per month.)
Benefits of Storing on Neighbor.com
Many Neighbor hosts who join the platform spend less than 30 minutes per month managing their Neighbor listings, making Neighbor one of the most time-efficient side hustles in the U.S.
With Neighbor, there are no upfront costs (e.g., land development costs), zero to minimal maintenance costs (e.g. cleaning fees), and fewer time-consuming tasks
Plus, our renters rent out spaces for months rather than days, meaning you’ll spend a fraction of the time scoping out new renters and filling vacancies.
Here are some other stand-out benefits:
- Neighbor.com brings you renters: We take care of all the marketing and advertising. So, sit back and wait for the renters to come to you. (And don’t be discouraged if it takes a bit to receive your first reservation request. Good things take time.)
- You’re in control: You approve each renter AND set the days and hours they can visit.
- Automatic monthly payments: Each month, receive direct deposits into your bank account (and if a renter fails to pay, Neighbor’s Host Guarantee promises to cover payments for up to 60 days)
- $1,000,000 in free host liability coverage: Neighbor has your back. In addition to host protections, we also offer renters their own property protection plans.
How to List Your Extra Space at Home
Like most people, I wanted a piece of the Neighbor pie. But how did I get people to come store at my house? The first step was to create a Neighbor account.
Step 1: Create an Account on Neighbor.com
This step is really easy. Go to Neighbor.com and click “Login” in the top right-hand corner.
Then, fill out your information.
- Name
- Phone number
Lastly, set a password. That’s it.
Step 2: Verify Your Phone Number, My ID, and Email Address
To maintain the community of trust that we’ve worked so hard to build, all Neighbor hosts are required to verify their identity, phone number, and email address.
By taking these few simple steps, you can give your renters a gift as priceless as the belongings they plan to store: peace of mind.
Step 3: Create a Stand-Out Profile

People want to rent storage space from hosts they trust.
If you were storing your childhood photos, high school yearbooks, a wedding dress (or two), or other priceless keepsakes, you wouldn’t leave these items with just anyone. You’d want to give your belongings a home, not just a storage unit.
Having stepped into your renters’ shoes, make sure the first thing your prospective renters see is a warm, smiling face (and a warm, inviting space).
For tips on how to create a stand-out profile on Neighbor.com, read here.
Step 4: List Your Space
Listing your space is as simple as completing our quick questionnaire.
Here, you’ll answer the following questions:
- Can your space store a vehicle?
- Which best describes your space (Indoor, outdoor-covered, outdoor-uncovered)?
- Which of these features does your driveway have?
- Where is your space located?
- What kind of property is this (residential or commercial/business property)?
- Should approved renters contact you before each visit?
- How often will renters be able to access their items?
- What time of day will renters be able to access their items?
In this questionnaire, you’ll also be prompted to create a listing description. Here, you’ll describe your space. What amenities do you offer? Is the space gated or climate-controlled? Do you have security cameras hooked up? Are you open to storing oversized vehicles in the space? Is your space located next to a popular landmark, office complex, etc.? Include all these details and more in your description!
The more details you provide, the more high-quality renters you’ll attract.
Toward the end of the questionnaire, you’ll be asked for the dimensions of the space. Our smart pricing tool will use this information (and other insight provided, e.g. your location) to calculate a fair rental price. However, if you’d prefer to set your own prices, you can opt out of our Smart Pricing Feature.
Once that’s done, you can manage your listings as a host or renter by simply downloading the Neighbor App or the website.
Step 5 (Optional): Manually Set Your Own Listing Price
With photos and descriptions out of the way, it’s time to set the price for your storage space. But what if we told you the work could be done for you?
Enter Neighbor’s Smart Pricing tool.
When you use Neighbor’s Smart Pricing tool, our team helps you get the biggest bang for your buck (while ensuring your listing appeals to a large demographic of renters + their unique budgets).
We aren’t called the no-side-hustle-side-hustle for nothing.
However, if you’d prefer to set your prices manually, you can opt out of Neighbor’s Smart Pricing feature.
Step 6: Optimize Your Listing
Even though they tell us not to, we still judge books by their covers and buy snacks just for the clever packaging. Your future renters are not the exception.
There’s a reason why listings with aesthetically pleasing photos and engaging descriptions see more traffic than those that don’t.
Before you upload a grainy or blurry photo of your storage space or a photo with questionable lighting (or, worst of all, the photo that showcases all of your garage’s clutter), think about the impression you’ll leave on your renters.
Choosing the wrong listing photos or rushing your listing description is like wearing the wrong suit to a job interview. If the goal is to rake in thousands of $ per month, you’ll need to dazzle your renters.
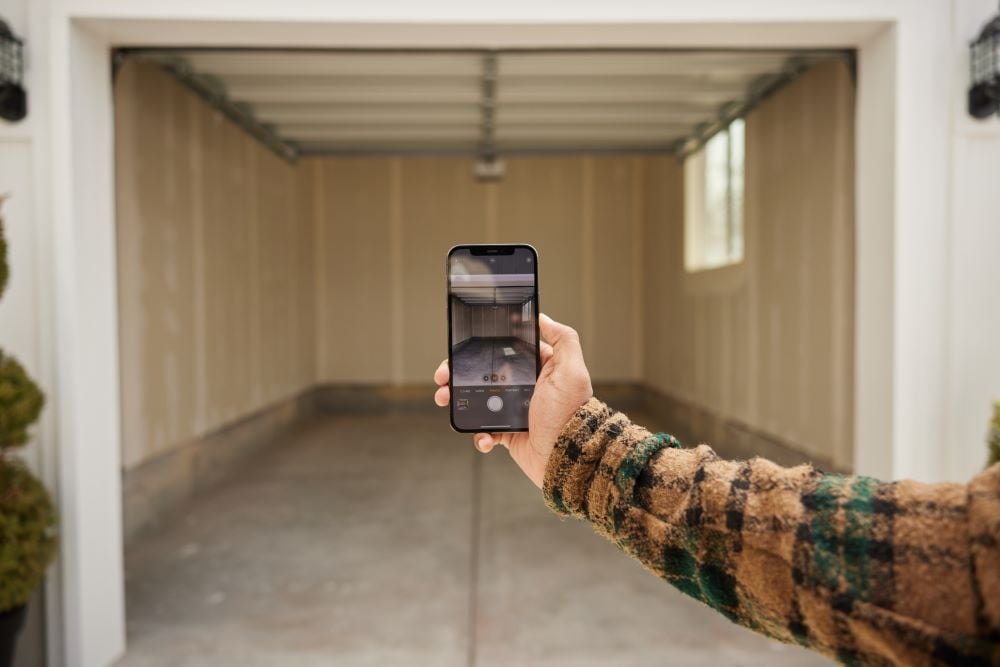
Wondering how to take top-notch photos of your storage space? Look no further.
Step 7: Communicate With Your Renters
Neighbor gives you the freedom to run a micro-storage business as you see fit. You get to decide which reservations you accept (and reject). Much like you get to set your own prices (or choose to stay opted into Neighbor’s Smart Pricing). And we want to keep it that way. Your home, your rules.
But we do have a few standards that we expect all of our hosts to follow. That way, we can keep our community of hosts as happy as ever (and continue honoring our commitment to being the cheaper, closer, & safer storage marketplace).
- Respond to renters’ messages in a timely manner
- Be reliable
- Keep communications & payments on Neighbor’s platform
- Deactivate listings for spaces that you’re no longer interested in renting out
For a more in-depth look at our Host Standards, review this guide
Step 8: Approve Your Future Renter
As you begin to get inquiries from potential renters to reserve your space, you will have 48 hours to approve or decline a reservation request. The sooner you approve a request, the sooner you can start getting paid.
To approve a reservation request, you can either respond and approve via the email or text you’ll receive.
How to Schedule Move-Ins
Once you’ve approved a renter’s reservation request, the next step is to schedule a move-in date/time.
As a Neighbor host, we recommend working around renters’ schedules whenever possible. The more flexible you are, the greater the likelihood of receiving a 5-star review! For an extra boost of convenience, set a time window in which you’ll be available, say 8:00 AM to 11:00 AM. That way, your renters have some wiggle room with their arrival time. Things happen! (Especially when you’re maneuvering a 30,000-lb Class-A RV through narrow suburban streets).
Be sure to empty and clean the space prior to the renter’s arrival. Waiting until your renters arrive to rearrange your garage, sweep your unfinished basement, or clear off your RV pad not only prolongs the move-in process but also looks unprofessional.
Your goal as a trusted Neighbor host is to streamline the move-in process, NOT cause unnecessary delays.
How Do Payments Work?
The monthly payments are why you’re here! So, how do you start getting paid?
Earning hundreds of dollars a month is just three simple steps away:

But first, you’ll need to connect your bank account. To successfully connect your bank account via Stripe, follow the steps in this quick tutorial. Note: Neighbor doesn’t store your bank account or any other sensitive information. All payment information is stored by Stripe, an encrypted and PCI-compliant payment gateway used by 100,000+ vendors worldwide.
Once you’ve connected your account, it’s time to watch the payments start rolling in.
Renters will be charged at the beginning of each rental period, meaning your renters will have paid for the entire month (before it even starts).
Within 3-5 business days of the beginning of the rental period, the payout will be visible in the host’s connected bank account.
While Neighbor charges a small 4.9% + $0.30 processing fee on each host payout, remember, this is a small price to pay for the priceless protection of Neighbor’s host guarantee, a liability protection of up to $1 Million USD.
For more information on how payouts work as a host (including steps on locating your payout history), check out this article.
Step 9: Work to Build the Community

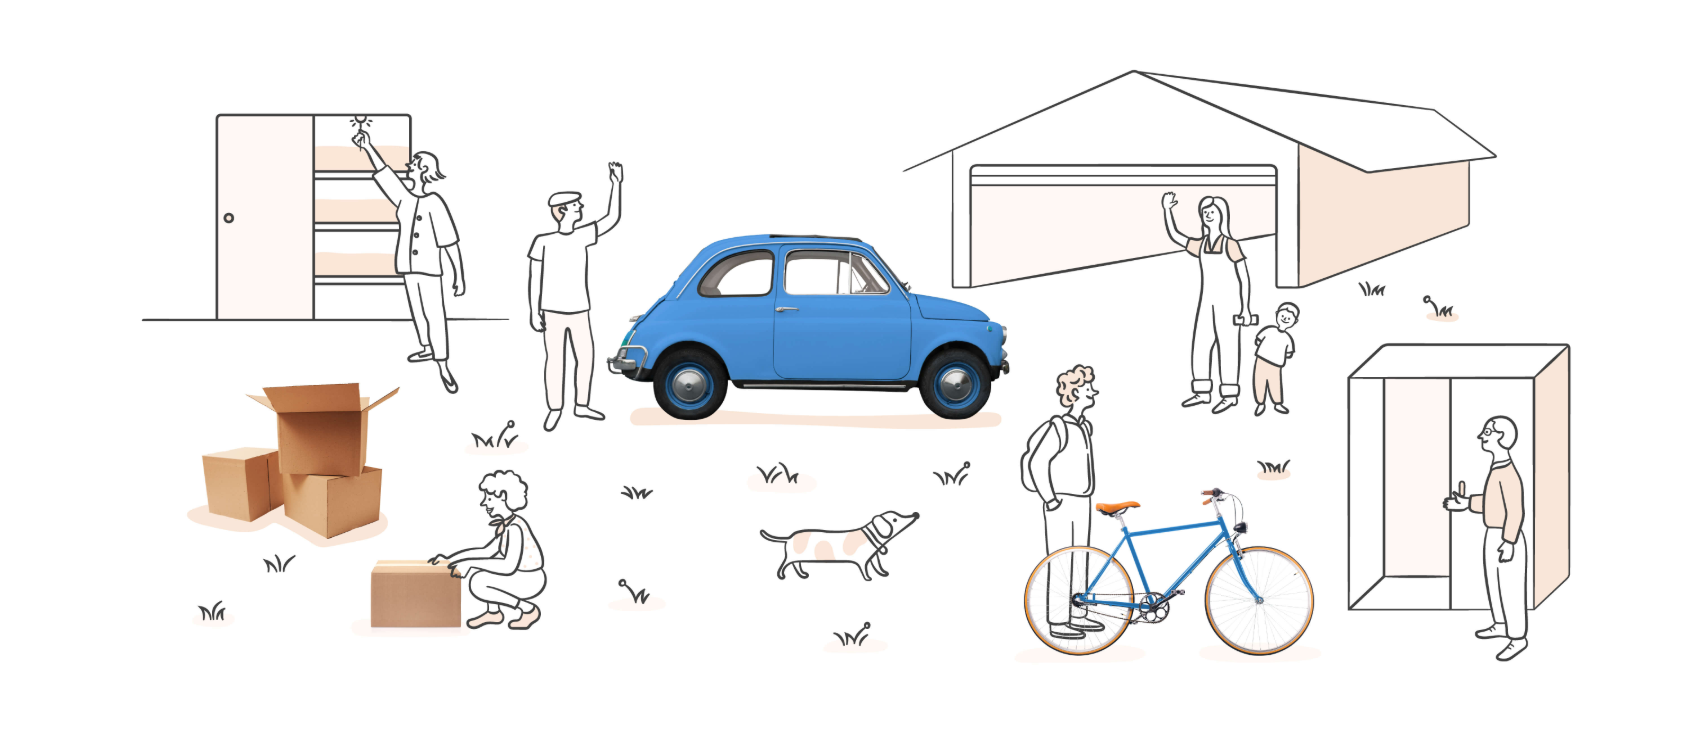
The best part is getting paid to list your unused space on Neighbor.com, but you’ll also get to revel in the friendships you make and the people you meet.
A renter-host relationship isn’t just transactional; it can be the start of lifelong friendships.
What Kind of Spaces Can I Rent on Neighbor?
There is no space too small to rent on Neighbor. Some of our renters generate passive income just by renting out their empty linen closets.
For a rough idea of the rental possibilities, check out the most popular space types listed on our platform.
Garages
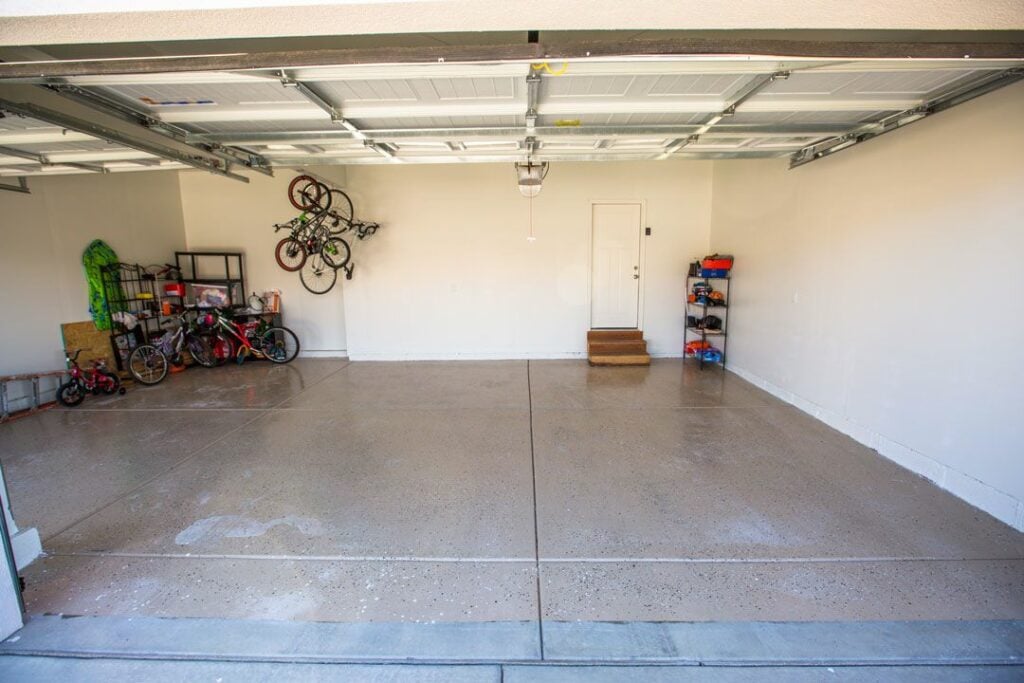
Renting out a garage space on Neighbor is simple:
- First, you’ll want to clear the garage space. Make sure that anyone who lives in your home knows that that space is off-limits and that the car or other vehicle will remain untouched.
- For your own protection and as a convenient amenity to offer renters, consider adding an oil mat or some sort of protective floor covering. This will help ensure that the car a renter stores doesn’t damage your garage and vice versa.
- Next, take pictures of your newly cleaned garage space. Describe all the amenities, access levels, and features available on your listing. Then, sit back and wait for the reservation requests to come in for you to review and approve.
- Finally, price your garage space. If you decide to offer certain features like 24/7 access or security monitoring, you can probably charge a whole lot more to rent out your garage.
Driveways/RV Pads

Turn your empty driveway into a vehicle storage space and start generating passive income.
- First, like every other space you list, you need to clean it off. Go the extra mile and pressure wash the space if possible.
- Create a listing description: Once you’ve cleaned it off, take note of all the amenities that are available for your future renters and include those details in your listing description. Does your space offer RV sewage hookups? If so, will your renters have access? Does the pad have an easy access point? Is there a way you could make the pad more secure so that theft and door dings aren’t a concern? Leave no stone unturned.
- Specify the hours of availability: Renters will always prefer 24/7 access to their vehicle, RV, or boat stationed on your driveway, but be sure to specify the level of availability and access you can offer so they know exactly what to expect before they request to reserve. Give your renters a way to access their stuff and move it if necessary.
Bedrooms
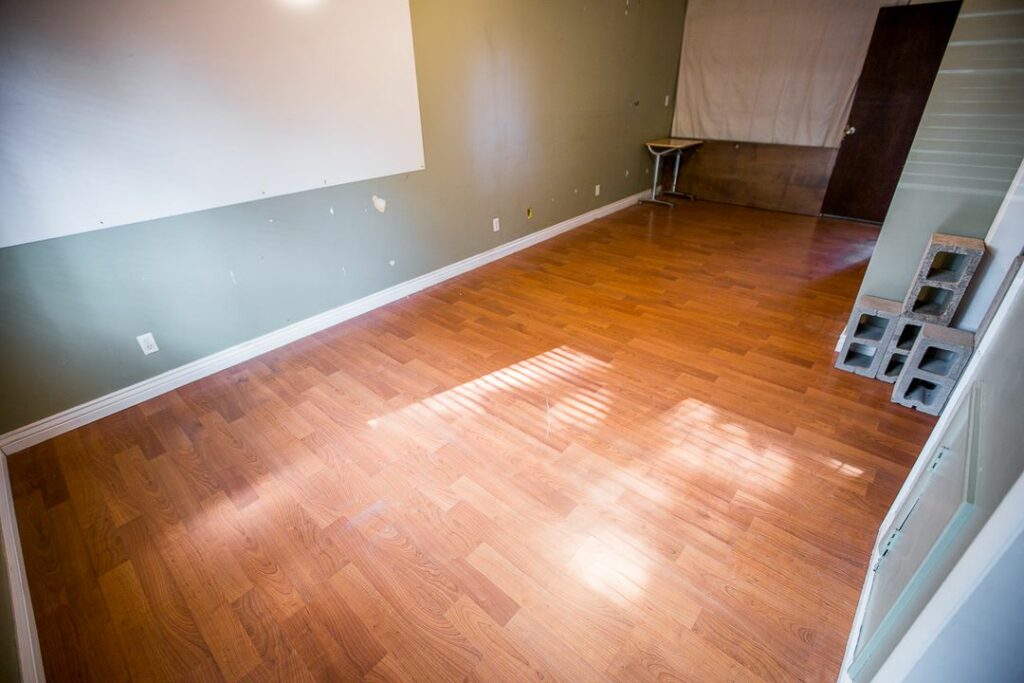
When people think about ways to monetize unused bedrooms, the first thing that usually comes to mind is opening the space to potential roommates. But what if we told you there’s a way to make money off those unused rooms without inviting strangers to live in your home?
Here’s how to list a bedroom space on Neighbor:
- Identify and measure the space. This will help in creating the listing and determining a price.
- Take aesthetically-pleasing photos: This will help in getting possible renters.
- Determine and specify accessibility to the space: Will renters have 24/7 access
- Be quick to communicate. When you have potential renters or actual clients, be quick to answer their questions and reach out to them about any sticky situations. Your reputation as a host will be built on trust. Build that trust with your renters consistently by communicating.
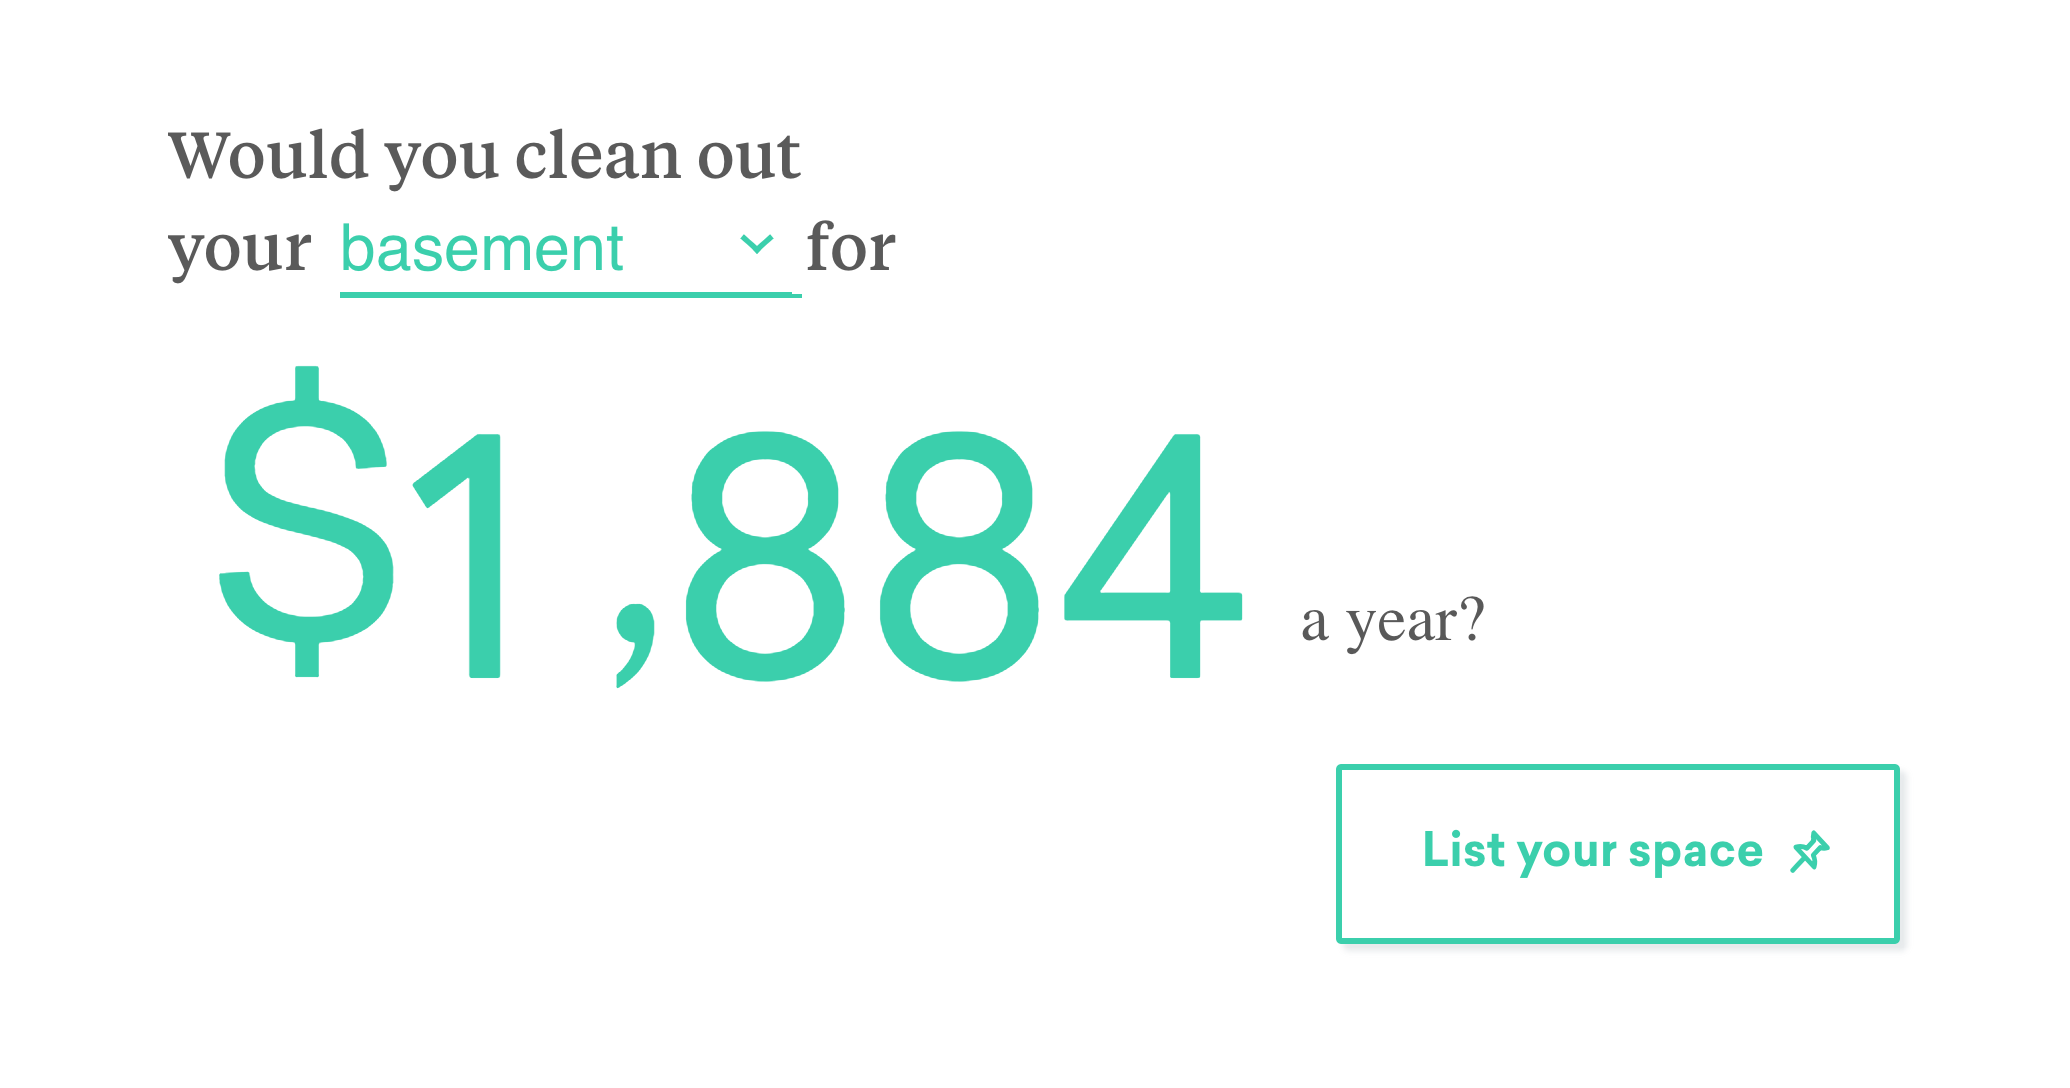
Basements
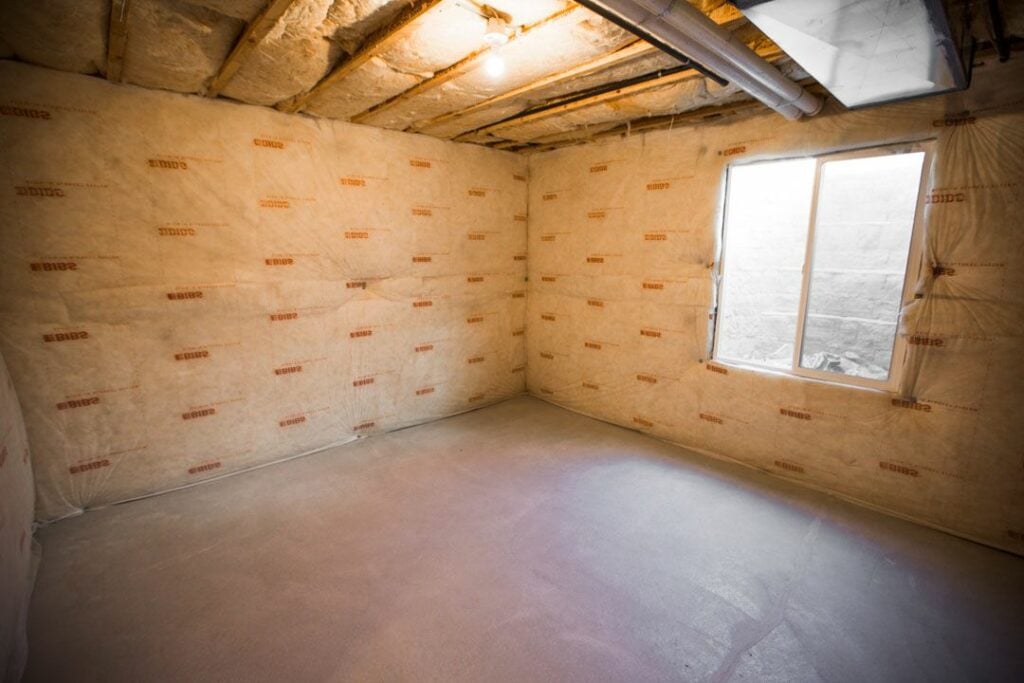
Your unfinished basement might not look like much more than some slabs of concrete and exposed insulation panels, but what if we told you it could be a money-making opportunity?
The good thing about basements is that many have outside access, which will make it easy for your renters to enter and exit the space (and load/unload their belongings).
Get Paid to Host Your Space on Neighbor
Now that you’ve read our how-to guide, it’s time to create a listing so renters can store stuff at your house! Remember, you can rent almost any space as long as a renter’s belongings will be protected.
When it comes to the space you can list on Neighbor, the sky is the limit! You could probably come up with ten different ways to rent out space in your home. Don’t let a single square foot of space in your home go to waste.
