Knowing how to tape boxes for moving is planning for your own future. We know — it sounds pretty dramatic. But a box can be dramatic if poor taping results in bugs in your sweaters or your best dishes smashing all over the driveway. Sturdy box taping ensures that your boxes stay structured and the bottoms don’t drop out when you heft and stack these boxes. Secure box taping ensures that dirt and pests can’t get into your boxes, even if they’re in storage for a while. Even using the right tape matters when it comes to planning ahead.
If you are packing for a move or boxing up a few things for storage, the way you tape matters! Just ask anyone who’s moved with low-quality tape or incomplete box-taping technique. That person might be you, which might be why you are here, reading this helpful guide on box taping today.
Real Fast: What’s the Secret to Taping Boxes?
The secret strategy as you tape boxes for moving is the “H-Taping Method,” meaning you make an “H” on the top and bottom of every box. Seal the sides, seal the center, and use some overlap tape to make it hold on firmly to the sides. Also, evenly line up your tape so that the strip is always half on one side (of the flap or corner) and half on the other.
If you can remember this simple tip, you’ll probably rock your box packing every time you tape boxes for moving. But stay tuned for a step-by-step guide to the proper way to tape a box when you plan for sturdy travel or long-term storage. We’ll walk you through the process of properly taping boxes, so there’s no way a single box can be messed up.
The Right Tape and Dispenser to Tape Boxes for Moving
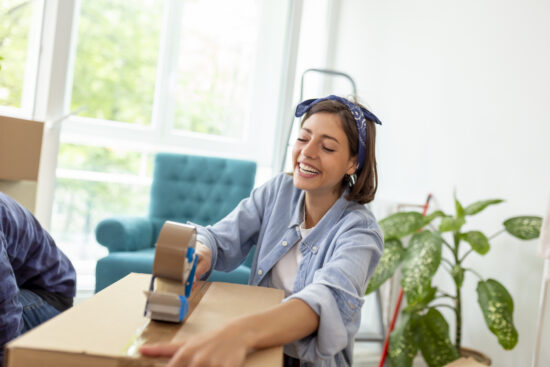
The first step for properly taping a box is to have the right tape. The last thing you want is tape that is too brittle (breaks and splits too easily), too weak (peels off the box), or too gummy (won’t come off the roll). Stick with brand-name tapes like 3M and Scotch, and invest in a tape dispenser. No joke; a tape dispenser will save you hours of peeling and cutting, not to mention saving yourself from frustration and tired fingernails.
Choose a tape that is wide, strong, and peels easily in the dispenser. If you already have a tape dispenser, you can save a little money by buying refill tape.
The Proper Box Taping Methods for Moving and Storage
Now you’ve got your tape dispenser in hand and a stack of flat boxes before you. Grab a box and get ready to apply tape in all the right places for a sturdy transport-ready result. This is the “H-Taping Method” of box taping, the official best way to pack, so get ready to line up your box and draw an H in tape.
1. Unfold the box and flip it upside down
Start by unfolding your box. Pull out the opposite corners and set the box up as a square upright tube in front of you. It can help to fold in the top flaps if the box is too tall now for your workstation.
2. Fold the small flaps in first
Looking at the bottom of the box, flaps up, fold the two smaller flaps in first. Push until the cardboard bends and the flaps stay at least half-folded. Use these folded flaps to keep your box even and with 90-degree corners.
3. Fold the large flaps over
Now fold the larger flaps over the smaller flaps. These two flaps should come together in the center, forming the closed end of the box. The two-layer flap system provides extra support, which is why smaller boxes for devices and toys sometimes don’t have the smaller flaps. It will be obvious if the box is off-center, so line it up while you’re holding the box with the large flaps folded over the small flaps.
4. Line up the edges so the box and flaps are even
Look at your edges and corners. Line up the box so the two larger flaps meet in a perfect line and the corners of those flaps don’t stick out over the edge in either direction. Hold the box even or ask a friend to help at this stage. You’ll need at least one hand for the taping.
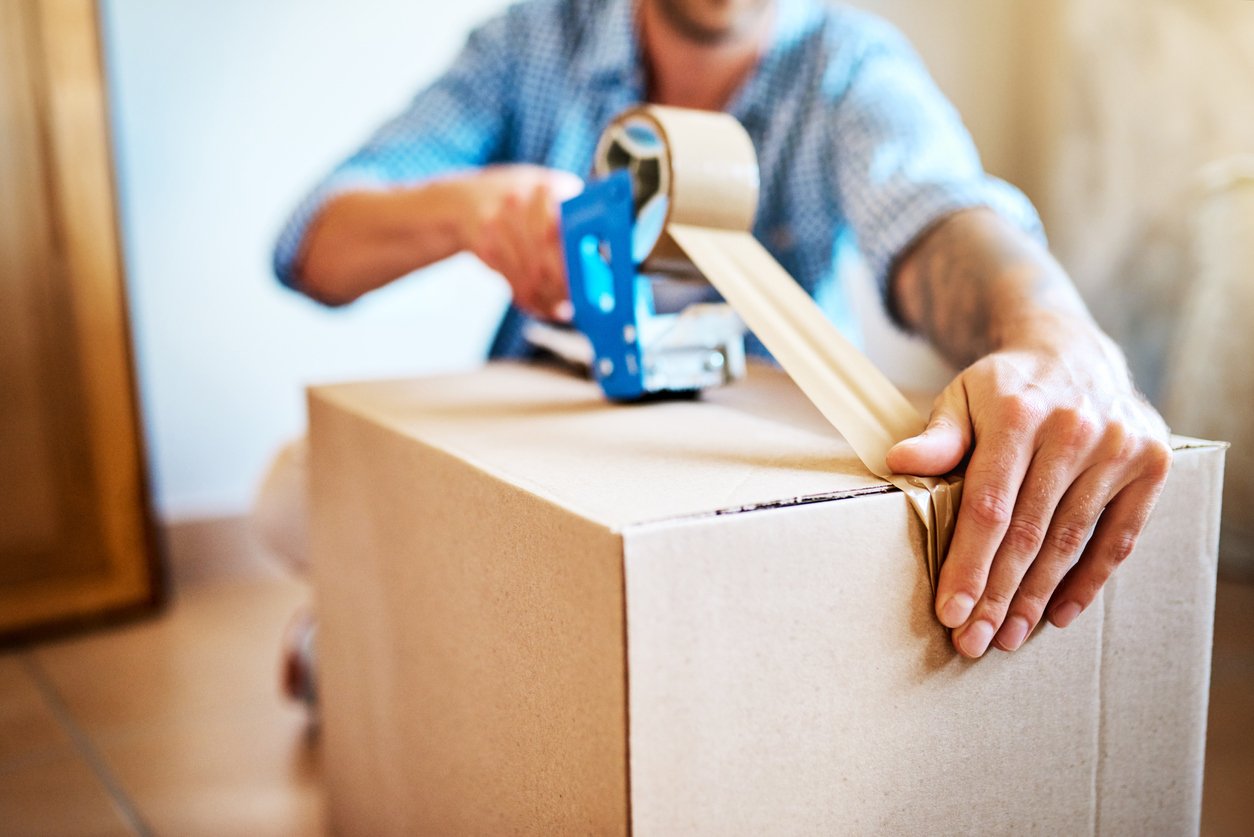
5. Tape down the side edges, from corner to corner
Grab your tape dispenser. We’re about to draw the first line of the “H,” starting at the first side edge of the two large flaps. Lay your tape dispenser so that the tape line will be 50% along the top (bottom) of the box and half hanging over the edge. Pull the tape dispenser to distribute tape and clip it at the opposite corner edge. Press down on the top, then fold the tape over and press down along the side to secure it.
Repeat this stage for the second line of the “H” along the other open edge of the box. Make sure your tape is 50/50 along the bottom/side of the box edge.
6. Tape down the center with 2+ inches over each edge
Now for your centerline, which will be easier with the sides secured. Align your tape so that it is 50/50 on each side of the centerline. Place your tape dispenser about two or three inches over one side (giving it an anchor point with tape) and pull the tape all the way across to 2+ inches over the other side. This also secures your side tape to keep it from peeling up.
7. Press down firmly
Press the tape down firmly along the center. Then check your side tape and press it again if necessary. This ensures your tape isn’t just positioned — it’s secure.
8. Top the box: repeat stages 2-7 with the top flaps
Now flip the box over and fill it with the items you want to store or move. When you are finished, repeat steps 2-7 (starting with closing the small flaps, then the big ones). Then you’ll be properly sealing the top of your box with tape, as well.
Pro tip as you tape boxes for moving: Label boxes as you tape them closed
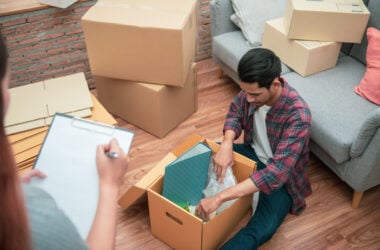
Have you ever moved homes, only to realize you have no idea what’s inside each box as you unpack? Many of us have been there before. When you’re packing into boxes, you know (in the moment) what is in each box. But what about when you are emptying the moving truck or storage space, having to cut open and check every box to find what you’re looking for?
The best pro tip we have to offer as you tape boxes for moving is to label your boxes as you pack them, right before or after sealing them with tape. Keep a marker pen handy, and just quickly jot down whatever you put in the box onto the lines (or your own labels) on the box top. Labeling the sides is also very useful for unpacking stacked boxes, when you can’t check all the tops easily.
Storing Your Boxes With Neighbor
Need somewhere to put a few boxes this year? Whether you’re moving and need temporary storage, have some overflow that won’t fit in your house, or just need a local storage space for personal reasons, the safest answer is to store items with your neighbor. Skip the hassle and risk of a local storage facility by stowing your boxes with Neighbor instead. Neighbor is a friendly local sharing economy of residential garage space. When you have to stow a few boxes, gym equipment, or personal mementos for a while, rely on a neighbor to provide the storage space and keep a safe eye on your boxes.
As a plus, when you know how to tape boxes for moving and clearly label them, retrieving or rearranging your local storage is hassle-free.