

Whether it’s your home, RV, boat, or similar, the process of de-winterizing can be quite a task. If you own a home that you only occupy during warmer months, you probably winterize this property as cold weather approaches. Winterizing prepares your property to stay in good shape when you aren’t occupying it. When you winterize a home, you’ll likely shut off appliances, turn off gas and plumbing fixtures, and unplug lamps and electronics.
Here’s your step-by-step guide to reversing the winterization process and how to de-winterize your home properly.
How to De-Winterize Your House
When you winterize your home before the cold weather hits, make a list of each step you took, so you can remember to reverse each step when springtime rolls around. You’ll want to do this before you plan on occupying the property, so you have time to fix any issues you run into. Because you may have shut off lights or electricity, and unplugged lamps, be sure to bring along a flashlight, so you can see your way around. Here’s what to do next.
1. Turn on any electrical circuits that were shut off
You may have shut off your electrical service to the point where you’ve left only essential circuits working, like the circuit for your home’s furnace or essential lighting. Head to your electrical service panel and take a quick look over all the circuit breakers in the panel. Flip on any breakers that were shut off. This way you can get your lights in working order so you don’t have to be fumbling around in the dark.
2. Reconnect water tubes and pipes
Sometimes during the winterizing process, you may disconnect supply tubes from plumbing fixtures. When de-winterizing a house, you must carefully inspect all these fixtures and reconnect the tubing to the proper valves or inlets. It’s best to tackle this task on a room-by-room basis, taking a look at all fixtures including toilets, sinks, showers, tubs, and any other appliances that receive a water supply. Use a strong set of pliers or a wrench to secure all tubes to their appropriate fixtures. Don’t turn on the shutoff valves just yet, though.
Next, check your water heater, water softener and other utilities that use water to make sure they are all connected. If you’ve stuffed or sealed your drain openings to prevent sewer gas leakage, be sure to unblock each of these drains.
RELATED: Get a head start on your home using our Spring maintenance checklist to help you check that every area of the home is in working order.
3. Turn on your main water supply
After you’re sure that each water supply tube has been properly reconnected, and your pipes are functioning, turn the main water supply on slowly. You’ll find this valve at the entrance to the main pipe that delivers the water supply to your home. If you have a utility sink near this valve, you will probably want to open that faucet as you slowly turn on the main water supply, allowing any trapped air to be released as the pipes gradually refill with water.
4. Open water heater, boiler, and water softener valves
If you’ve shut off your water heater, boiler, and water softener during winterization, turn the water supply back on to these appliances now. You can find valves located on the pipes that carry water to and from each of these appliances. Closely follow any manufacturer recommendations for how to supply these appliances with water.
5. Turn on plumbing fixtures one by one
First, open the main water supply valve about halfway. Next, travel to each room to turn on each plumbing fixture separately. First, on each fixture, open the shutoff valve, then slowly open the faucet. Trapped air will likely come out of the faucet first, and you may experience loud sounds or splashing. Don’t be alarmed as this is normal. When the flow of water has steadied, you can shut off the faucet. Check shutoff valves for leaks, and tighten any joints that have sprung a leak.
Make sure to check each fixture separately, until you’ve made your way around the entire home. Don’t forget appliances that use water like ice makers, dishwashers, water filters, etc. Ensure that each of these appliances has its water supplies restored. Next, test your toilets to make sure they’re working correctly. When a toilet’s tank is empty for a while, the seals on the flush valve can stiffen, which prevents the tank from sealing properly at the end of the flush cycle.
When you have ensured that all of your plumbing fixtures are operating correctly, you can turn the main water supply’s valve to fully open.
6. Check exterior hose spigots
Your outdoor hose faucets or spigots are usually freeze-proof, and they can leak when you’re de-winterizing your home. Check each of your exterior spigots to make sure it works properly without leaking. If you notice low pressure, it can mean that there may be a leak somewhere in the pipe that extends inside the house. Check pipes in your crawlspace or basement.
RELATED: Use our guide on everything you need to know about insulating and winterizing outdoor pipes at home properly.
7. Double-check all water fixtures
Finally, to finish restoring plumbing to your entire home, go from room to room and double-check all your fixtures and appliances to make sure they’re working and that nothing is leaking.
8. Plug in lamps and appliances
You’ve likely unplugged all appliances, lamps, and other devices when winterizing to prevent sparks and lower the risk of electrical fires. It’s easy to reverse this process by simply plugging everything back into the proper electrical outlets.
9. Turn on the gas
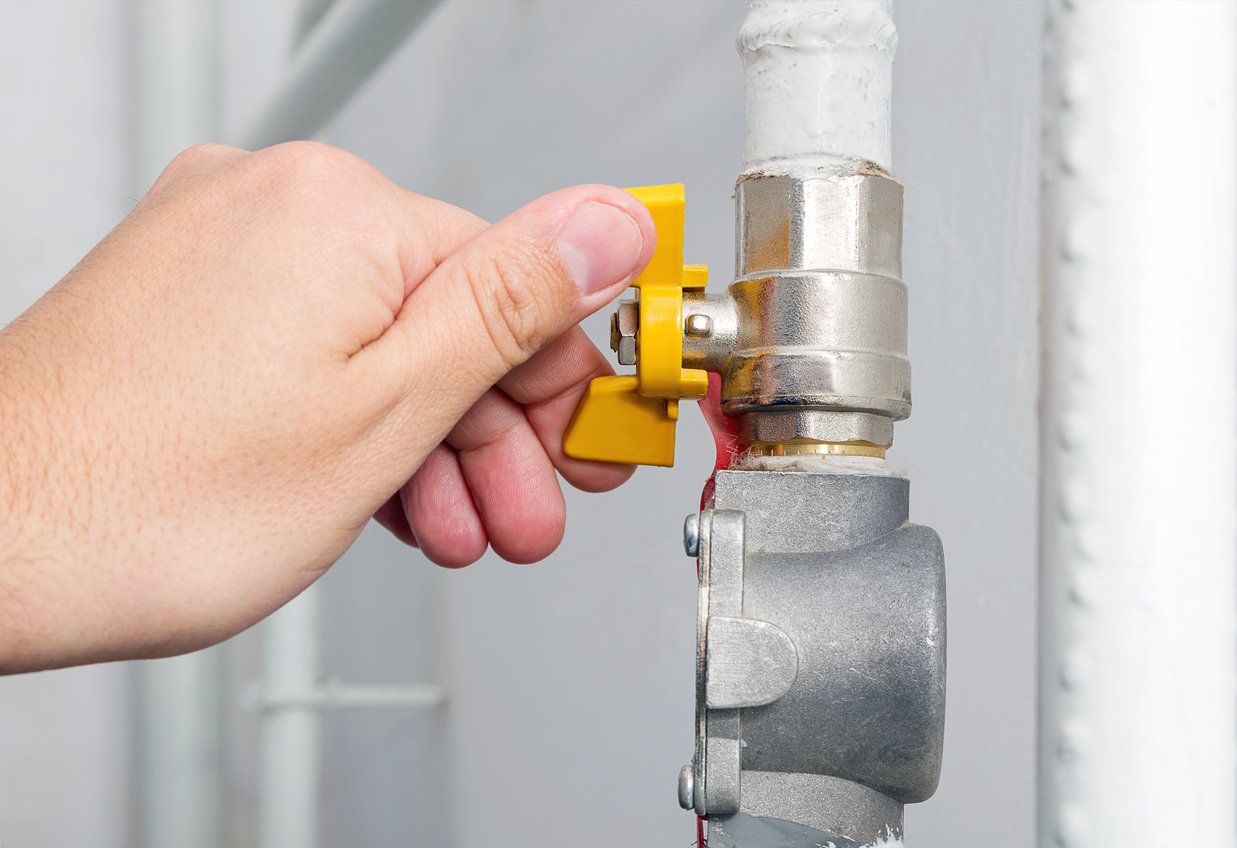
When you leave a house unattended in the winter months, turning off the gas is an important step. This prevents any problems that gas leaks may cause. Now’s the time to turn your gas back on. If your home is located in a warmer climate where winter heating isn’t needed, you may have shut your gas off at the main shutoff valve. When you turn this valve back on, it will restore gas flow throughout the entire house. If your home is located in a colder climate where you must run the furnace at a low temperature to prevent freezing, the main gas supply may have remained open throughout the winter. This means you probably closed the valves on individual fixtures. Open all the necessary valves to restore gas to appliances.
10. Light standing pilots
Modern gas appliances typically use electronic ignition systems to ignite the gas, but older appliances may operate with standing pilot lights that are always burning. Now is when you should relight these pilots. You can ignore this step if you don’t have an older furnace, water heater, or stove.
11. Check your sump pump
Flash floods due to spring rain or melting snow can cause floods in your basement, so it’s important to check your sump pump to prevent water damage. If your home has a sump pump, check to make sure it’s turned on and working properly.
12. Check the gutters
Over the past few months, leaves, dirt, and other debris may have formed clogs in your roof gutters. Check to make sure that all your gutters are clear so that your downspouts will do their job to carry water away from the foundation of your house.
13. Reset the thermostat and alarm
Your thermostat, alarm system, and other programmable systems can now be adjusted to meet the needs of an occupied home. Turn your thermostat to an acceptable temperature and check to make sure your water heater is at the correct temperature.
Your home is now Spring-ready!
You’ve finished the de-winterizing process! Now that everything is once again in working order, you can make yourself at home. Of course, don’t forget about spring cleaning! It’s always a great idea to thoroughly clean appliances and surfaces around the home to wipe away any dust and grime that’s accumulated. Also, keep an eye open for anything that may have changed while you were gone, i.e. cracks in ceilings, walls, or foundations, or signs that critters like bugs or rodents made themselves at home. Watching out for these things can make it easier to prevent further damage.


