Many boat owners dream of that first spring launch on Memorial Day—the day seemingly every boat owner in the US comes out to play on their favorite lake, river, or bay.
But it would be a huge mistake to roll your dusty vessel down to the marina and launch it. While winterizing your boat for winter is essential, it’s just as important to de-winterize your boat.
De-winterizing demands a comprehensive inspection of your boat. Beyond checking cables and hoses, you’ll need to perform a top-to-bottom inspection of every part of your boat, down to its trailer’s tires (Pro tip: In times of doubt, always reference the owner’s manual). An inspection is not only a critical safety measure, but it will also extend the life of your vessel.
If you’re already overwhelmed by the de-winterizing process ahead, don’t be! We’ve assembled a de-winterization checklist to help you get your boat out of storage and onto the water safely and efficiently.
First, What Does It Mean to De-Winterize a Motor Boat?
The process of de-winterization involves taking your boat out of storage after the winter months and assessing any maintenance needs your vessel requires for the upcoming season.
De-winterization may take a bit of time and money but is an essential form of preventative maintenance that protects your investment in the long term (and protects you from getting stranded out on the lake in the short term!).
Neighbor’s Complete Boat De-Winterizing Checklist
Whether you have a Whaler or a houseboat, you’ll want to follow each of the relevant de-winterizing steps from our checklist. These steps require a vigilant and thorough visual inspection.
Pro tip: An ounce of prevention is worth a pound of fun on the water.
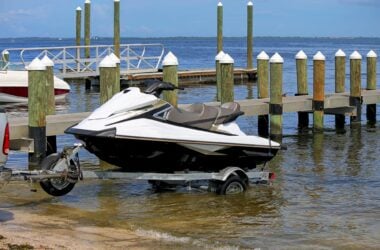
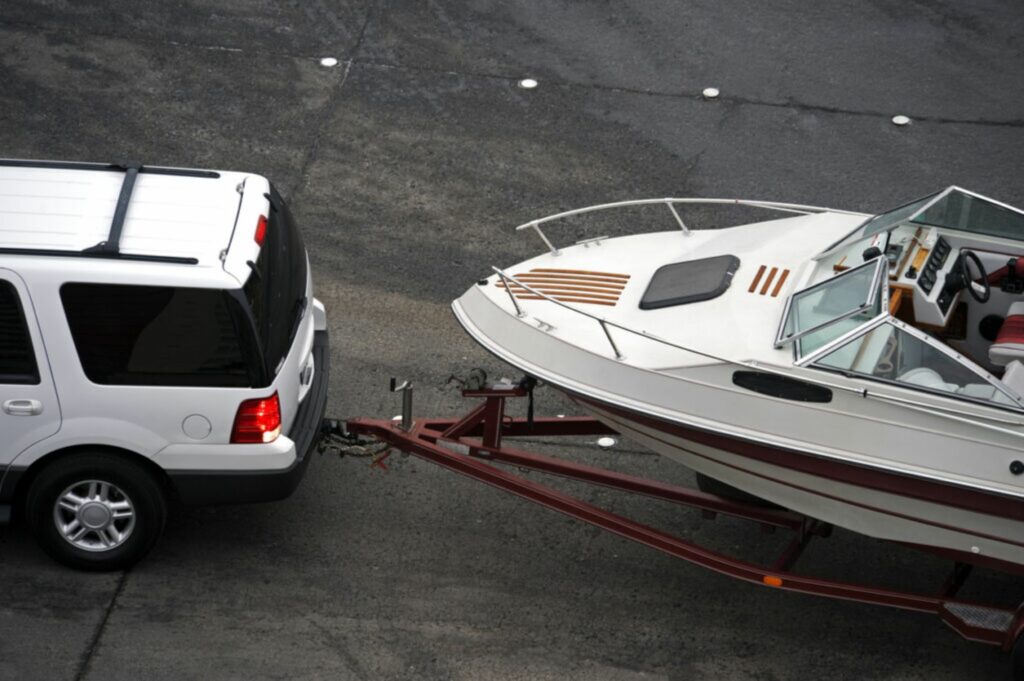
Inspect the Trailer
Your boat is only as good as the trailer that gets you to the marina. Boats are a lot safer on water than on an ill-maintained trailer barreling 55mph down the highway.
There’s a good chance the trailer tires will need some air. Check to make sure that you have your pin and safety chain, and oil the hitch lock. If you see signs of corrosion, make a mental note to fix those before next winter.
Plug in the four-way electrical plug and test your boat’s turn signals for driving.
Later – once you’ve completed this checklist and your boat is on the water – check the trailer bunk boards to make sure they are secure and properly carpet-padded. Also, make sure the bow guide is secure.
Inspect the Props
Take a quick look at your propellers to inspect for snarls, dings, rust, or other wear. It’s a lot easier — and safer — to inspect the props before she takes a dip.
Check for Pests and Critters
Covering your vessel with a good quality boat cover is undeniably important. However, critters have an uncanny ability to sneak through the gaps in your boat’s coverage—even when everything is lashed down.
When boating season winds to a close, storing your boat in an enclosed storage space may protect your vessel from the elements or lurking thieves. However, a space-constrained storage space presents an attractive winter habitat for little critters – everything from spiders to mice to raccoons.
For this reason, you’ll need to look for spiderwebs, chewed components, droppings, and other signs of unwanted hitchhikers during your visual inspection. Be thorough (but incredibly careful) anytime you de-winterize a boat, as some of these critters can be dangerous. You don’t want a brown recluse spider joining you on your next boating excursion.
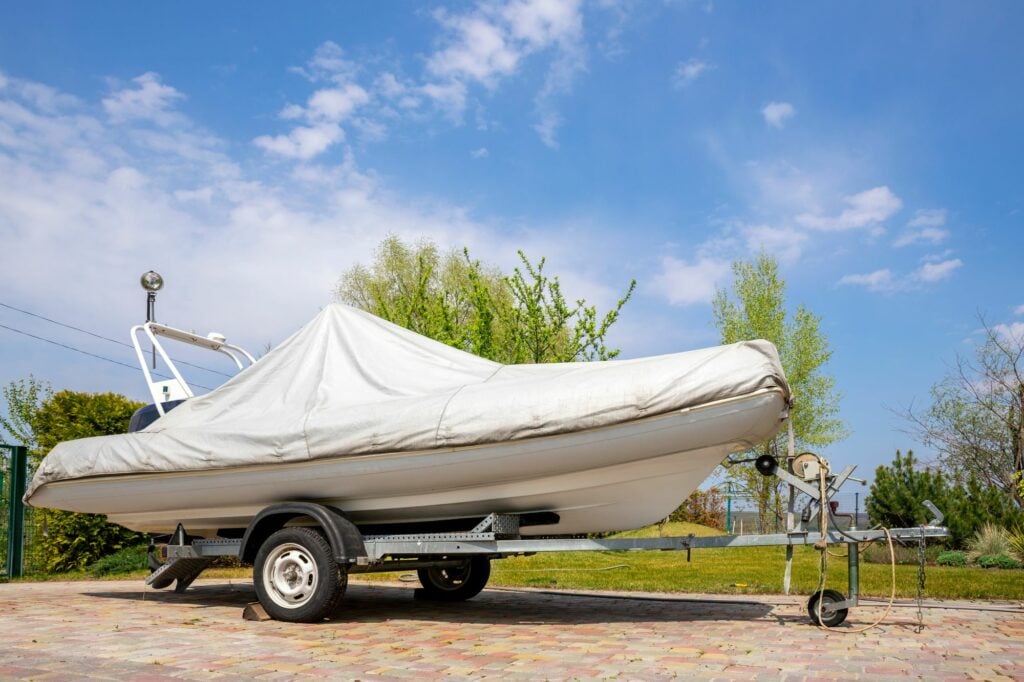
Secure the Boat Cover
If you’ve stored your boat outside, your boat cover will probably need to be thoroughly washed. Beyond the inevitable layer of dirt, there can be mold, plant seedlings, and other hangers-on that need to be removed. If you plan to store your boat outdoors in the off-season, a thorough cleaning and drying are a must.
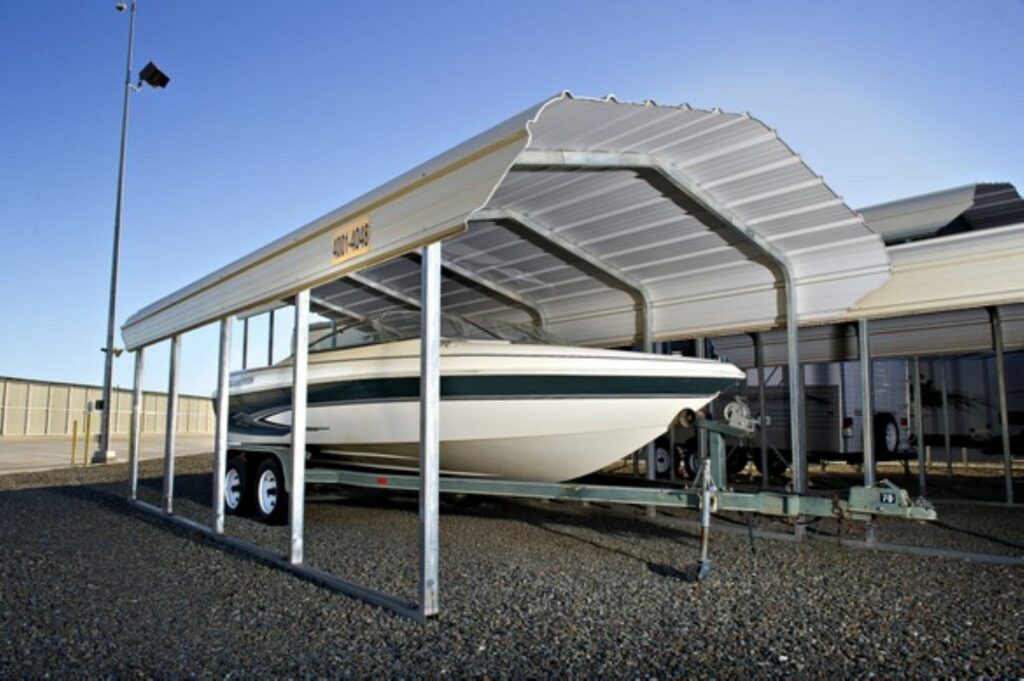
If you want to avoid the headache of outdoor boat storage (wet or dry storage) but are struggling to find affordable indoor boat storage, consider peer-to-peer storage services like Neighbor. Who said enclosed boat storage had to come with a tidal wave of additional storage costs?
Remove Dust
Unless you’ve hermetically sealed your boat in plastic, some amount of dust is virtually guaranteed.
A small broom and/or shop vac will help scrape a layer of dust off from the interior. Hosing off the interior is only recommended in the following cases:
- If you own a boat that catches a lot of splash (like a Zodiac)
- After completing this entire checklist (a dry boat is easier to inspect than a wet one).
Review the Owner’s Manual
This is a good time to locate your owner’s manual, which will provide further direction on each of these checklist steps (refer to the “Maintenance” section at the end).
Even if you know your boat inside-out, you should keep your owner’s manual handy. Many jurisdictions require that you carry the owner’s manual as a matter of law. (At the very least, you’ll want it on board if you someday decide to sell your vessel.)
Check Engine Oil
Most boat purists believe in changing the oil and oil filter after every winter. Be kind to your boat’s engine. You won’t be happy if it breaks down miles from the marina.
Inspect Your Fuel System
Start by reading the section in your owner’s manual dedicated to fuel and vessel storage, as each engine will have unique considerations.
The most common fuel today in the marine industry is E10 gas, which is blended with ethanol, a biomass-derived fuel catalyst that boosts power while reducing emissions and fossil fuel use. The ethanol in E10 gas can gunk up your fuel lines if you don’t use an additive to negate this effect.
In addition, if you store your boat with less than a full tank, it’s possible for the moisture in the air to condense and sully your gas with water.
On your last outing prior to winterization, you should try to use all the E10 gas in your tank. Fill up to the brim with a non-ethanol gas (where available), an anti-moisture additive, AND a fuel stabilizer. Then, briefly run your engine for 15 minutes to mix the two. If you have to fill up with E10, use an ethanol additive.
You’ll find a somewhat bewildering range of additives on the market. The truth is that many of these additives are unnecessary.
The two things you’ll need are:
- An anti-moisture additive that reduces water buildup (You should also choose a fuel filter with this feature, though the filter can only separate out water from fuel when you are running the engine.)
- A fuel stabilizer to prevent your gas from degrading in storage. Bad gas can damage your engine, so if you haven’t taken these steps (tisk-tisk), you’ll want to replace the entire tank of gas before firing up your engine.
It is also important to inspect each fuel line – particularly if your vessel was exposed to freezing temperatures during the winter, which can cause lines to crack. Check all the connections to make sure the fuel lines are secure.
Check for Damaged Hoses and Belts
Engine hoses are a weak link, as the rubber tends to degrade faster than other parts of the engine. Inspect for cracks and check all connections.
Scan for worn or cracked belts, and give them all a light tug. If there’s any significant play, they should be replaced.
Inspect the Cooling System
The cooling system is comprised of two major components: the standard on-board system that you add coolant to AND the impeller pump (see #11, below).
You’ll want to replace the coolant with a 50/50 mix of water and antifreeze at the beginning of the season. Check each coolant line for wear or loose connections.
Use an Impeller Pump
The impeller water pump uses the lake or seawater to cool your engine. With a similar function as wind-cooling radiators in cars, the water brought in by the impeller cools the engine but never mixes with the closed-loop coolant delivery system.
When it comes to engine cooling, an impeller pump is considered a secondary or backup option (analogous to using wind-cooling radiators on cars).
Once the impeller has seen 200 hours of use, it’s time to buy a new pump.
Check Thermostats
Like the impeller, thermostats should be changed out every 200 hours. If they aren’t working, your engine could overheat and meltdown. That does not make for a fun day out on the water.
Replace or Perform Maintenance on the Battery
Ideally, you should change out your battery every season.
If you don’t replace your battery, you’ll want to clean the terminals of corrosion and add distilled water to the cell.
A full night of charging is recommended before your first day on the water. Using a trickle charger to keep the battery voltage stable during the winter season is advised, as it can add to your battery life and save you the hassle of having to recharge the battery before your first spring outing.
You should always keep a boat battery voltmeter (battery tester) handy in your boat.
Use a Distributor, Carburetor and Spark Plugs
Open the distributor cap and look for any corrosion. Check that your spark plugs are pushed in snugly. If you protected your carburetor with a plastic cover during winter, don’t forget to remove it, as your engine won’t run without the airflow from the carburetor.
Use a Bilge Pump
It’s very important to test your bilge pump before going out on the water, or you may end up bailing frantically as your boat becomes a floating bathtub.
Check Navigational Lights
Check all your running lights and replace any dead bulbs. Missing boat lights can be extremely hazardous in low-light or nighttime conditions.
Fire Up Electronics and Navigational Devices
Nothing ruins a fisherman’s day more than a dead depth finder. (That’s always the day they’re really biting.)
Fire up all your electronics and make sure that they are working correctly. Replace fuses, update any system firmware (for example, with your GPS system), and make sure all the components are working properly.
Stow Safety Equipment
Safety gear such as life jackets, a working two-way radio, and a first aid kit are just as important as anything else on this list. You’ll also need to carry emergency flares and at least one fire extinguisher
Pro tip: Check the expiration dates on both items and keep records of when you service and/or replace them. This will also help prevent you from catching a citation from the harbor patrol.
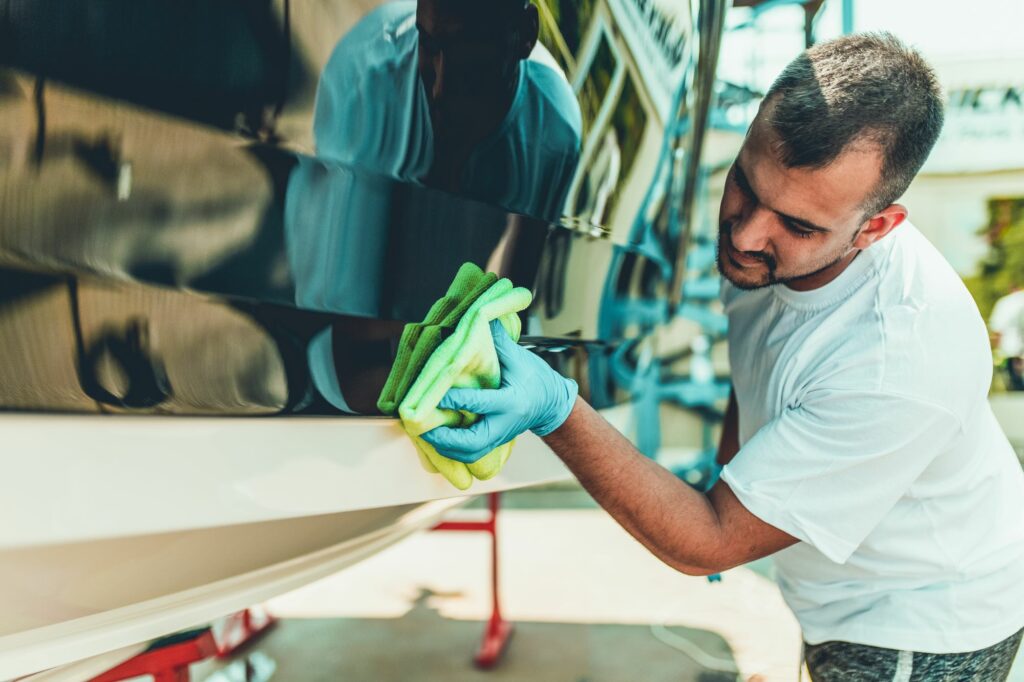
Wash, Paint, Polish and Wax
As eager as you may be to get on the water, de-winterizing is the right time to attend to hull and exterior maintenance. This is the best time to fix any fiberglass dings, as your boat is at its driest after winterization, which is perfect for epoxy repairs to set.
You’ll also want to put a fresh oil finish and varnish on wood. Anti-fouling paint will help keep your hull free of aquatic hangers-on like seaweed and bivalves.
Review Local Regulations
The National Association of State Boating Law Administrators provides an exhaustive list of boating regulations by state. This impressive resource includes everything from local seaplane regulations to Boating Under the Influence (BUI) laws.
Make sure you are in compliance with the boating laws in your region — not just to avoid citations, but because virtually all of these regs are designed to keep you safe out on the water.
Final Thoughts
When it’s time to re-winterize your boat in the off-season, check out this winterization guide. Then, consider your winter storage options on peer-to-peer storage marketplaces like Neighbor, as well as traditional storage facilities.
Additional Boat De-Winterizing FAQs
Do I Need to De-winterize My Boat?
Yes! If you don’t take the time to properly de-winterize, boat damage that goes unnoticed worsens and can lead to injury.
How Much Does It Cost to De-Winterize My boat?
The cost to de-winterize a boat depends on many factors. As a general rule, the bigger the boat, the higher the cost of de-winterization. $300+ would be a reasonable estimate. It also matters where you live and whether winters are mild or involve months of freezing temperatures.
The cost of storage can be a major factor. When it comes to winterizing, a covered facility is vastly better than your backyard. Peer-to-peer storage services like Neighbor can be a cheaper and easier way to winterize your boat than marinas or commercial storage facilities.
Preventative maintenance is essential for all boat owners. Detecting problems early, keeping all systems running smoothly, and taking precautionary measures will always pay off in the long run.