
In ideal conditions — with the right moisture and sunlight — seeds sprout quickly. Sometimes, however, you may not want your seeds to sprout immediately. You might want to store them until the ideal growing season, or you might have plans to save them for a couple of years before you plant them. The good news is, seeds can be stored for up to two years with relatively minimal preparation. If you need to store seeds longer, there are several strategies you can use to help protect your seeds and increase the odds that they will be viable when you’re ready to put them in the ground. This guide will show you how to store seeds, including:
How to Store Seeds
Follow these basic steps to protect and properly store seeds for vegetables and flowers.
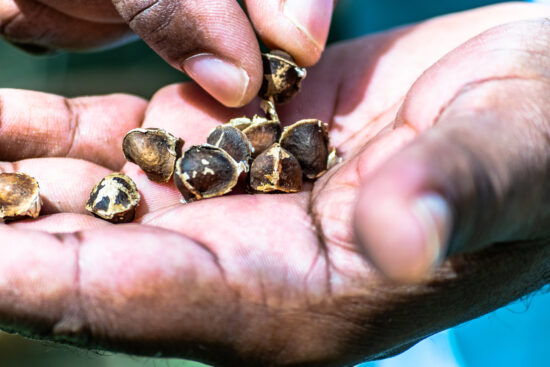
1. Dry out your seeds.
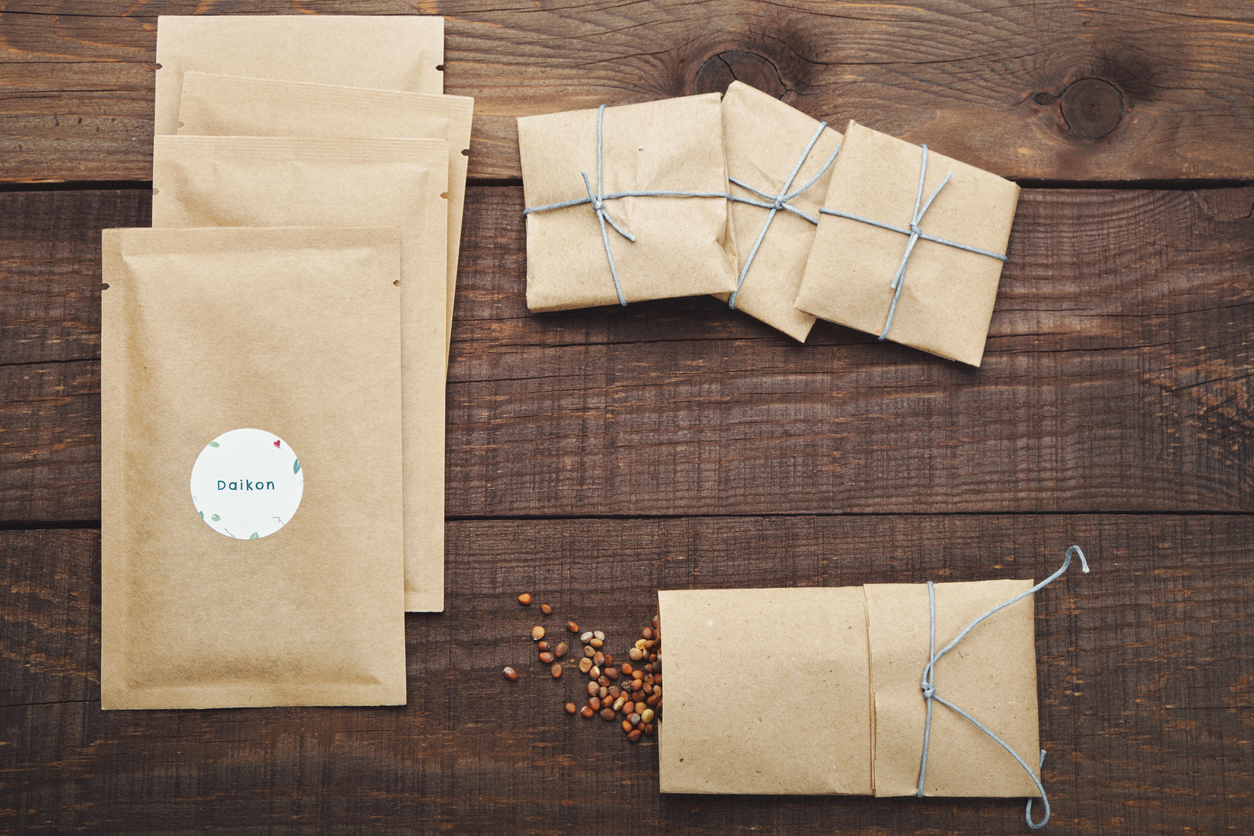
Make sure seeds are dry before you begin. Take a look at your seeds before you put them in storage. If you have purchased seed packets, make sure the packet is not exposed to excess moisture and keep it sealed before placing it in an airtight container or mesh bag. All that seeds need to germinate, or sprout, is a little moisture and the right temperature conditions. If you store moist seeds, your seeds could germinate in storage, which could lead to the plants dying before you have a chance to put them in the ground. Seeds that are too wet can also suffer frost damage in the freezer or mold and rot in the refrigerator.
One way to see if seeds are completely dry is by using the “bend test” – if a seed snaps in half, the seeds are dry enough to store. If they bend instead of breaking, they may be too moist to survive storage. Need to dry your own seeds? Start by placing them in a large, flat container. Spread them out in a thin layer so that they can dry quickly.
RELATED:
No room for an an outside garden? Read our guide for growing an herb garden indoors from seed that are easy to maintain all year round.
2. Find a cool, dry storage location.
Ideally, you should store seeds out of direct sunlight where they will avoid exposure to heat and moisture. Many people choose to store their seeds in basements, closets, or rooms that remain dark and cool year-round. You may also want to consider storing your seeds in the refrigerator or freezer, especially if you’re storing a seed like onions, carrots, or parsnips that often do not hold up well over time.
3. Store seeds in the right storage container.
When selecting a storage container, make sure you’re tailoring it to your seeds and your storage location. If you’re storing your seeds high in a cool, dark, pest-free area, you may be able to store your seeds in a mesh bag, which will allow some air circulation without increasing the moisture content of the seeds or causing other damage. On the other hand, if you’re storing your seeds in a cool corner of the garage or basement that is often prone to pests, you may want to choose a sealed storage container.
4. Protect your seeds from pests.
Even if you think your seeds are safely in a pest-free area, you may want to add some precautions that will help keep your seeds safe from rodents and bugs that think that your carefully preserved seeds look like the perfect snack. If you’re using an open storage solution like a mesh or paper bag, place it in a location that is inaccessible to rodents and hard for bugs to get to. A high shelf can help protect your seeds. Alternatively, consider hanging them on hooks from the ceiling or the underside of a high ledge to prevent all but the most determined pests from sneaking in.
How to Store Seeds Long-Term
In some cases, you may want to store seeds long-term to preserve them for beyond just the next year. In this case, it’s important to know that certain types of seeds do better in long-term storage than others. However, the steps below can still apply to properly preserve and store your seeds for use in the long-term future.
1. Make sure seeds are completely dry.
If you have any moisture content in the seeds, they will not store well. Dry them out completely before attempting to store them to avoid any chance of germinating.
PRO TIP:
For long-term storage, consider adding a silica gel packet (like the ones that come in vitamin bottles, shoe boxes, and purses) to your storage container. These packets can help absorb excess moisture and prevent seeds from germinating.
2. Store seeds in an airtight container.
In order to store seeds in the fridge or freezer, you’ll need to have an airtight storage container that will not allow moisture from that appliance to creep in. Place the seeds in the airtight container and make sure it’s sealed, with no excess moisture inside. If you’ve dried your own seeds, a glass jar is a highly effective, inexpensive storage option.
3. Store seeds in the freezer.
If you want to save your seeds long-term, keeping them in a freezer can help protect them and decrease the odds that they will germinate before you want them to.
Temperatures tend to remain very consistent in the freezer, which may make it easier to maintain your seeds long-term. If you do not have a freezer available or do not have adequate space in your freezer, storing seeds in the fridge is the second-best option.
4. Defrost seeds properly before planting.
When you’re ready to use your seeds again after storing them in the freezer, you must recover them properly before planting. This step is critical in the seed storage process. Plus, you don’t want to go to all that trouble, only to watch your seeds fail to sprout once they come out of the freezer again!
To recover seeds from long-term storage, take the seed storage container out of the freezer and set it on a table or shelf for at least 12 hours so that it can reach room temperature. Do not open the container during those initial 12 hours to avoid exposing your seeds to moisture prematurely.
Next, open the lid and let your seed storage container remain sitting out for a few days, introducing the seeds to air before planting. This will help gradually bring the seeds to suitable conditions for planting.
PRO TIP:
Waiting for your seeds to recover from long-term storage? This is a perfect time to work on your raised garden bed or make sure the ground is prepped and ready for planting.
How to Store Bulbs
For plant bulbs, follow these steps to ensure they’re viable to use for next year.
1. Leave the bulbs out in the sun to dry.
Generally, it will take about a week in the sun to dry your bulbs properly. Like seeds, plant bulbs should not be exposed to excess moisture in order to prevent mold and early sprouting.
2. Place them in a box filled with dry organic packing material.
You may want to use materials like peat moss or sawdust to help protect your plant bulbs. Place the packing material strategically so that each bulb is kept a few inches apart with roots facing down, just like you would if you were planting them.
3. Store in a dark, dry location under proper temperatures.
When storing bulbs, temperature is important in order to avoid sprouting before you’re ready to plant and different bulbs need to be stored at different temperatures in order to stay safe over the winter months. For most bulbs, storing in temperatures between 35 and 45 degrees is perfect. Other bulbs, like Canna Lilies or Dahlias, can be stored in slightly warmer temperatures between 45 to 60 degrees. Be sure to check the ideal temperature for the types of bulbs you’re storing.
4. Check the quality of your bulbs before planting them.
While proper storage can help bulbs last for more than one season, each year that passes can decrease the quality of the bulb. Check to make sure that the bulb is firm, plump, and hasn’t dried out. If it is withered and dry or if it’s soft when you squeeze it, then the bulb is likely no longer viable.
How to Store Tubers
In general, tubers store easily with quick preparation. Follow these simple steps to store you tubers.
1. Cut and dry tubers to prep for storing.
Before you place them in storage, cut your tubers properly and then allow them to dry for at least one or two days. Unlike other types of seeds and bulbs, tubers need to maintain some moisture in order to grow well.
2. Place tubers in a storage container.
There are several container options that are ideal for storing tubers. You may want to use:
- Vermiculite in plastic bags
- Slightly moistened sand in five-gallon containers
- Wood chips
- Paraffin wax (by dipping the tubers into the wax)
2. Store tubers in a cool area.
Place the tubers in a cool area that will remain between 40-45°F through the winter. A corner of the basement or garage works well.
3. Inspect the tubers for signs of rot monthly throughout the winter.
Throw away any tubers that show signs of rot to protect the rest so they can be planted in the future.
4. Move the tubers to a warm location in early spring.
When you’re ready to take your tubers out of storage in preparation for planting them during the upcoming spring, choose a dark space at room temperature. Add a teaspoon of water per quart of bag space approximately 7 to 10 days before removing the tubers.
Storing seeds is an incredibly rewarding way to extend your garden and save a little money each year, and with this seed storage guide, you have the knowledge on how to store seeds properly to maximize their lifespan and future planting potential.


