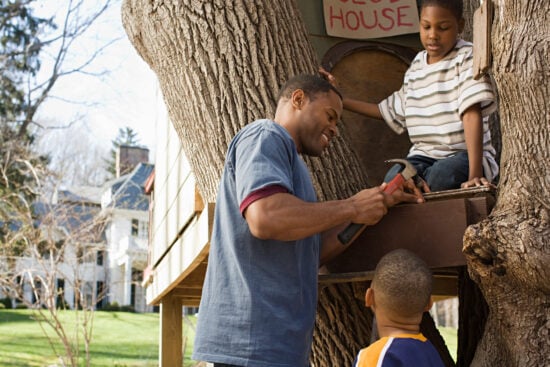
A tree house can provide families with hours of joyful times and memories. Whether you have fond memories of your own tree house or you hope to provide your children with an exciting way to spend time at home, a tree house is a great way to get the kids outdoors and even enhance your landscape. But the idea of building a structure in the trees doesn’t mean you have to hire a professional carpenter. With a little building experience under your belt, you can easily learn how to build a tree house that rivals any professional creation.
Is it illegal to build a tree house on your property?
Depending on where you live, there might be certain restrictions surrounding your tree house build. If you’ve recently moved, then your new state might have laws you’re unfamiliar with.
If you plan to build a small structure for your children to play in, it’s most likely not illegal. However, you might be required to get a building permit if zoning laws require it. If the structure is 100 square feet, then you’ll likely require a building permit. Smaller structures may not require a permit, but it’s best to learn your local ordinances and make sure. You might face additional rules if you live in a gated community or are subject to HOA regulations. To avoid potential issues after the tree house is built, research the rules about building structures in your area and have a chat with your neighbors. Take these steps to make sure your tree house build falls within the law.
- Call or visit your local town officials to learn the requirements before you begin your build.
- Make sure you include all the details about the planned size and height of your tree house.
- Measure the distance from your planned tree house location to the property line, and ensure you won’t be blocking your neighbors’ view.
- Visit your neighbors and share your plans to ensure there will be no future difficulties.
- Submit your plans to town officials and be prepared to make adjustments.
- Pay the necessary fees.
Pro Tip for How to Build a Tree House
If you plan to add electricity or plumbing to your tree house, then you’ll likely need additional permits and considerations.
Your Supply List for How to Build a Tree House
Building any dwelling in a tree is substantially different from building on solid ground. To ensure safety, you must have all the proper supplies for a dependable support system and a safe enclosure. Power tools like a cordless drill can be extremely useful for a quick and convenient build. Your tree house plan and measurements will help you determine the amount of lumber and fasteners you need. You can expect to use some or all of these supplies for your tree house build.
- Lumber (including 2x8s for supporting beams, 2x4s for framing, boards for walls, and decking for the platform)
- Galvanized Deck Screws
- Galvanized Tree House Attachment Bolts
- Washers
- Joist Hangers
- Rafter Ties
- Roofing Materials (this could be tin, shingles, or even a tarp)
- Hammer
- Level
- Carpenter’s Square
- Saw
- Power Drill
- Ladder
- Tape Measure
Will a Tree House Damage My Trees?
Without certain precautions, a tree house can damage trees. So it’s important to know how to build a tree house properly.
There are a variety of ways your tree house can cause damage to your trees. Foot traffic compresses the soil and makes it more difficult for water to reach the tree’s roots. The weight of your tree house strains branches and puts extra stress on the tree’s roots. Puncturing the tree’s bark to attach fasteners can introduce infection. Most trees are healthy enough to withstand this, but you should always take precautions to keep your trees safe and healthy.
Use these tips to help protect your trees as you learn how to build a tree house:
- Leave gaps around the tree(s) to allow for trunk growth and movement. Your floor needs two inches of space for trunk growth. If trees extend through roof openings, then a three-inch gap is required.
- Use lag bolts instead of through bolts to minimize tree bark damage. Tree house attachment bolts are the healthiest option, but they can be expensive and difficult to install.
- Don’t tie cables or wires around tree branches. They can cut through bark as the structure moves and, when tightened, strangle the tree. If you use suspension techniques, then talk to a professional arborist to learn the proper way to use cables and ropes in a tree.
- Use one or more ground supports (posts) to take pressure off the tree. Ground posts can supply additional support and allow you to build a larger tree house.
- Avoid placing fasteners too close together. They can weaken a section of the tree. It’s essential to use strong bolts and the right fasteners to avoid shearing damage and dangerous effects from high winds.
- Surround tree trunk(s) with a thick layer of mulch to minimize the compaction caused by foot traffic. It can also provide a safer play space on the ground.
How to Build a Tree House: Your DIY Step-by-Step Guide

Even if you’ve built sheds or other structures in the past, building a tree house is a different experience. Planning ahead and learning all the details about how to build a tree house is vital to your success. Take these steps to ensure your DIY tree house build is a seamless experience with outstanding results.
1. Choose your Tree(s)
Tree houses can be built around the trunk of one tree, within the sturdy branches of a tree, or among multiple trees growing close together. The size and details of your tree house will depend heavily on the trees you have available for support. You can consult an arborist for advice, but typically the right trees for supporting a tree house are healthy hardwoods that have been growing for several years. Load-bearing branches should be at least 8 inches in diameter. The best choices include maple, beech, hickory, oak, fir, and hemlock.
Pro Tip for How to Build a Tree House
In high wind areas, build your tree within the lowest third of the tree to avoid wind damage. A tree house will act like a sail when a strong wind is introduced, putting extra strain on the tree’s roots.
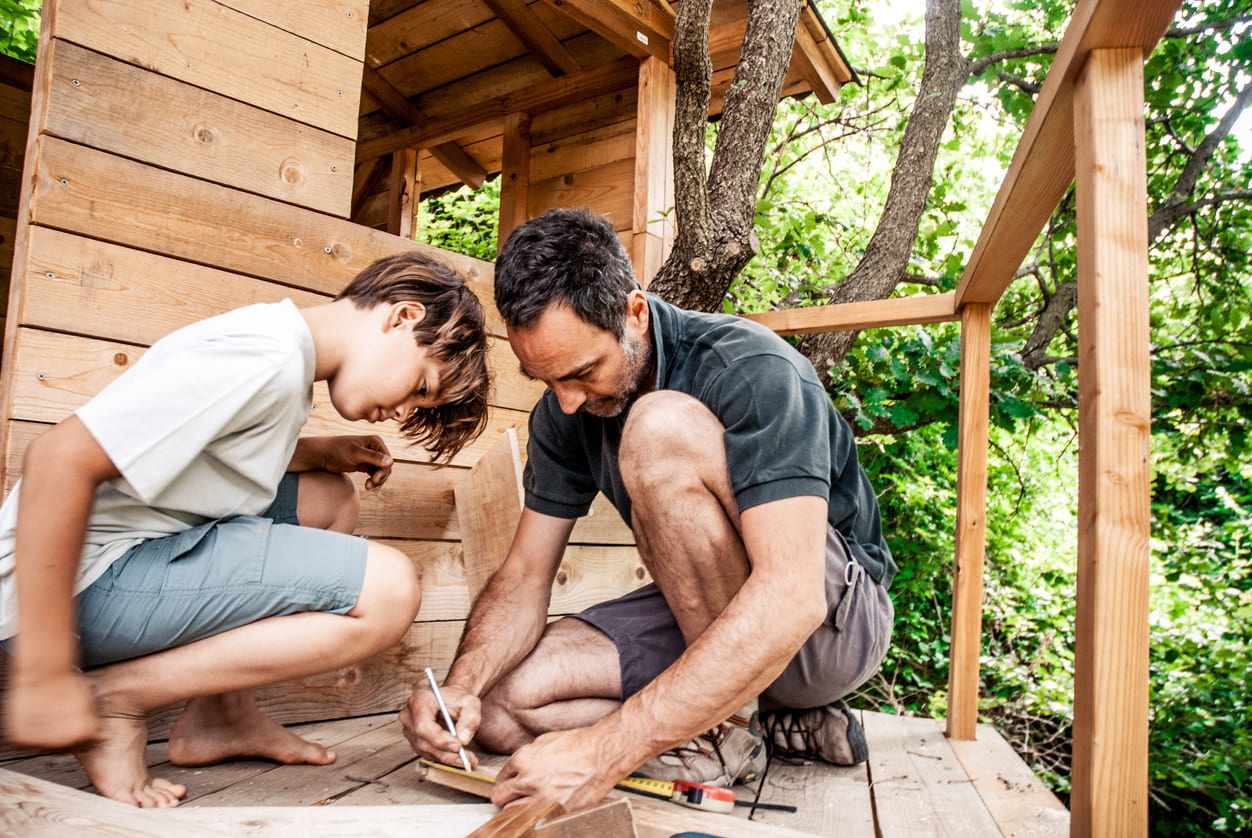
2. Create a Blueprint
Building a structure in a tree has certain limitations. A clear plan will dictate the supplies you need and help you create a safe, well-balanced building. For most rookie tree house builders, tree house planning will include some research to help you settle on the tree house design you intend to complete. You might need to consider altering measurements to fit certain elements of the tree or trees you plan to use.
Take these steps to create your tree house blueprint and supply list:
- Determine the perfect height. Using your tree as a guide, plan the tree house height that will provide a fun experience and safety while ensuring no one will bump their head walking through the yard.
- Plan for a sturdy structure. Plan for the platform to be close to the trunk with the load over the base of the tree. Determine where additional braces and posts will be needed. If you’re planning a heavy or large tree house, then seek a group of trees to effectively carry the weight.
- Take measurements and draw a plan. Using a measuring tape, determine where your tree house platform will be and the lengths of lumber you’ll need. When creating the final blueprint, consider the necessary railing materials and whether you’ll want additional decking outside the structure.
3. Purchase Materials
While you may already have some tools on hand, you’ll need lumber and a wealth of fasteners and supports for stability. Your research and blueprints will help you determine the exact length your boards will be and the lag screws, fasteners, and other materials you’ll need.
4. Mount the Main Supports
The main supports of your tree house will determine the stability and safety of the entire structure. Tree house attachment bolts are bolts specifically designed for holding heavy loads in living trees. They are made of carbon steel, can support 9,000 -12,000 pounds, and gain strength as the tree grows around them. If you can’t use TABs, then galvanized lag bolts are recommended. Take these steps to install your main supports.
- To determine the height of your first support bolt, subtract the width of your support board plus one inch from your planned tree house floor height.
- Install the first bolt following the manufacturer’s instructions.
- If you are attaching to a second tree or branch, then use a 2×4 and a level to determine the height and placement of the second support bolt.
- Install the brackets that will affix support beams.
- Bolt the support beams in place.
5. Build and Attach the Platform
You may choose to build your platform (or at least parts of it) on the ground. These parts may have to be hoisted onto the main supports with the help of a partner. Keep in mind that floor supports should be no more than 2 feet apart.
Pro Tip for How to Build a Tree House
Creating a pulley can provide you with a convenient way to hoist tools and supplies up to your working area.
6. Brace the Platform
There are a few techniques you can use to stabilize your platform. You may decide to use posts, knee braces that connect to the tree, or a combination of both. Without braces and supports, your tree house platform will wobble. Diagonal braces can be made with 2x4s cut at an angle to attach to a lower position on the tree’s trunk. Additional ground posts can be added near outlying corners or other areas that need additional support.
7. Lay the Floor and Build the Walls
Often, the biggest flooring challenge in how to build a tree house is how to navigate around tree trunks. If you purchased decking materials for the floor, then you’ll likely need to cut them to fit your frame. Some boards will likely have to be cut to fit around the tree. Using paper or cardboard as a template can help you get the shape exactly right. Screw the deck boards onto the frame to create your structure’s floor and platform.
Wall frames can be built on the ground and then attached to the completed platform. Follow your diagram closely to determine where the tree house windows and entrance will be located. Your wall framing should consist of the outside wall frame with braces for support and framing where openings will be located. When the frames are completed, they can be hoisted or lifted to the platform one at a time to be attached to the platform. The materials you chose for the walls can be added to wall framing after each frame side is secured firmly to the platform.
8. Complete Framing and Add Railings
Add the front and back framing to support your roof. If you’ve left space on the platform for an overlooking deck or space, safety railings must be included. Practically any material you choose can be used to create railings around your platform. It’s essential to create a strong railing system that children can’t slip through. Plan the entrance and ensure it’s located in a convenient location where a safe transition from the ladder to the platform can occur.
9. Attach the Roof
There are a variety of ways you can create a roof for your tree house. You can build a wood frame similar to the ones for the platform and walls, or you can purchase a tarp or other weatherproof fabric to stretch over the frame. Any waterproof roofing materials should be attached in a way that will allow rain and debris to slide off.
If you decide to build a complete roof, you’ll need to measure and build rafters to ensure the roof rises at a regular pitch to shed rainwater. Begin by measuring the length of your platform from front to back. This will determine the length of your ridge board (the top board that runs the length of the roof). Build your front and back rafters on the ground and attach them to each end of the ridge board.
With the help of a partner, affix the rafters atop the front and back wall frames. For a typical tree house designed as a child playhouse, a third set of rafters placed in the middle of the roof will provide sufficient support. Attach cross boards to the rafters to secure final roofing materials. Follow the manufacturer’s directions to firmly attach tin, shingles, or other roofing material to the rooftop.
If you plan to use a canvas or tarp roof, a simple wooden frame designed from a ridge board with rafters on each end will suffice. Weatherproof fabric can be stapled or nailed to the roof’s frame to keep it stretched taut and secure.
10. Build a Permanent Ladder
Now that the structure is complete, it’s time to build a ladder suited to the children who will use the tree house. Rope ladders are a popular solution, but they can make a difficult transition for smaller children. Wooden steps, an attached wooden ladder, or even a climbing rope can provide access to the tree house.
Discuss fun climbing options with the kids and take the time to determine how to create a safe entry and exit for your tree house.
Tree House Safety Tips
A backyard tree house provides a fun way for kids to spend time and expel endless energy outdoors. However, since it’s located several feet above the ground, certain safety measures are essential. Use these tips to ensure all children (and adults) that use your playhouse remain safe at all times.
Create Rules
Before turning the kiddos loose to enjoy their new hideaway, it’s essential to set rules that will keep them safe. Safety rules should eliminate pushing and create a reasonable distance for children to climb safely up and down from the tree house.
Observe the Transition
Your ladder and level platform will most likely be easy for kids to navigate. Often, the transition from ladder to tree house can be a challenge. When children begin to use the tree house, observe the transition to ensure you’ve made the right ladder choice.
Secure the Rope Ladders
If you choose a rope ladder, secure it at the bottom to create a safer climb. Only use rope ladders on structures that are less than 10 feet above the ground.
Create Safe Railings
Make railings at least 36 inches tall. Any materials you choose for railings should be spaced closely to prevent children from slipping between them.
Provide a Safe Landing Space
Even when you include a wealth of safety features, it’s always possible for children to fall while climbing or exiting the tree house. A thick layer of wood mulch or other soft material provides an essential safety net and creates a healthy space for the tree roots to thrive.
Add-Ons for Even More Tree House Fun
Knowing how to build a tree house in the treetops provides a great way for your kids to enjoy time spent in the yard. Adding more fun features can make your tree house even better. When it comes to tree house additions, any safe idea is acceptable. Get the kids to join in with the planning process and vote on the best tree house ideas everyone will enjoy. These are some popular options to turn a tree house into a kid’s paradise.
Slide
A slide can provide a fun way to exit the tree house. It can also allow children to exit quickly without getting injured rushing down the ladder.
Telescope or Periscope
The elevated status of a tree house provides a great view, but you can still enhance it for even more fun. Attaching a telescope or periscope to the tree house railing provides a fun way for kids to enjoy the stars or a distant view.
Hammock
Hammocks are a fun resting place for kids. The area beneath the tree house can provide ample room for this addition. If you have the space inside, a hammock could be a fun addition to the tree house interior, as well.
Swings
Hanging swings beneath your tree house will provide additional playing options for groups of kids.
Trap Door
Even though the tree house has a serviceable entrance, a trap door is a fun addition to any tree house. The trap door should have a secure lock. It can have a ladder beneath it for easy access or a pole for kids to slide down to exit the tree house. Even simple communication from the ground to the tree house can be fun with a trap door.
Bridge
A bridge can provide extra space for more fun ways to play among the trees. Your bridge can connect the tree house to another platform, a simple ladder, or be built on a long slope to lead to the ground. tree house bridges should be built sturdily with secure railings and properly secured.
Solar Lighting
While most time spent in the tree house is during daylight hours, evenings and sleepovers can also be fun. Candles aren’t a safe option for tree house lighting, but a variety of solar lights exist. Consider solar lanterns, lights that mount on the deck railing, or even battery-powered fairy lights to illuminate your tree house.
Pulley System
Toys, snacks, or even a complete picnic lunch can be enjoyed in the tree house. A pulley system with a basket creates an easy, fun way for children to transport items up to the tree house and back to the ground. It creates an additional safety element by avoiding full hands while climbing the ladder.
Furniture
There are several ways to create affordable seating options in any size tree house. Oversize pillows or beanbags make easily movable lounging spots for kids of all ages. You can use leftover wood from your build to create built-in furniture. Larger tree houses can even include a table and chairs for meals, homework without distractions, artwork, hobbies, or games.
There are countless fun ways for children of all ages to enjoy a tree house. If your children have been begging for more fun in the yard or you simply wish to provide them with an awesome playhouse, then a tree house is a great addition to any childhood. Learning how to build a tree house can be a challenge, but it definitely pays off when the structure is complete. A tree house can provide years of enjoyment for every member of the family.