Insulating your garage door is a great DIY project for reducing your energy bills and protecting your garage’s content from the elements. Whether it is winter, summer, or any other time of year, having an uninsulated garage door harms your home and wallet. Other distinct benefits of knowing how to insulate a garage door include:
- Increased return on property value
- Reduced noise
- Increased door strength
- A more comfortable garage and home
If you are seriously considering improving your garage space for your own purposes or to rent it out for storage, but you’re not sure where to start, here is a helpful guide on how to insulate a garage door.
Purchasing the Right Materials for Insulating Your Garage Door
The first part of how to insulate a garage door is purchasing the right materials for the project. There are two main types of garage insulation materials you can buy at home centers: R-8 vinyl-faced fiberglass and R-4 expanded polystyrene (EPS) foam board. Both contain unique characteristics and are suitable for different environments.
Along with insulation, weatherstripping is also necessary for completing the project. Your local big box store (or even Amazon) will have garage door insulation kits, or you can gather the materials separately. The best garage door insulation kit is the one that gives the most flexibility for snugly fitting pieces.
How to Choose the Right Type of Insulation: R-8 vs. R-4 EPS Insulation
R-8 provides a reasonably high R-value. The R-value is the unit of measure to determine the thermal resistance for a product, so a higher number equates to higher thermal resistance. It typically takes two R-8 kits to insulate a standard 16-ft-wide, two-car garage door.
Due to the higher R-value, R-8 is generally more suitable for energy savings in colder climates. So if your home’s location is further up north, you may want to consider using R-8 vinyl-faced fiberglass insulation.
R-4 EPS foam board is another incredibly effective insulation type. To receive a tight seal, you can cut the R-4 foam panels to the necessary length. Then place the cut insulation underneath the horizontal rail. R-4 foam insulation has a lower R-value than R-8 vinyl-faced fiberglass. However, if you live in a more temperate climate, garage door insulation panels with an R-4 value should be sufficient for the project.
Another popular DIY choice is styrofoam, which has an R-5 value.
Both the R-8 and R-4 are the best garage door insulation materials, with relatively high R-values, and you can find them in lots of garage door insulation kits. Precise cutting of the materials helps achieve a higher R-value, regardless of which material you choose.
If you have a heated or attached garage, consider adding Reflectix or other reflective insulation to the foam panels. This material reflects radiant heat, so it’s a great way to prevent heat loss. Increasing your garage’s energy efficiency is best achieved by keeping cold temperatures out and treated air in.
But be careful! Don’t insulate your garage door with XPS rigid foam board insulation. XPS rigid foam is extremely flammable and yields toxic fumes when set ablaze, which can put you and your family at serious risk.
Pro Tip for How to Insulate a Garage Door:
Also factor in your garage door’s existing R-value when choosing your insulation type. Thin metal garage doors, like standard aluminum doors, offer very little in-built R-value, but wood doors have a greater R-value.
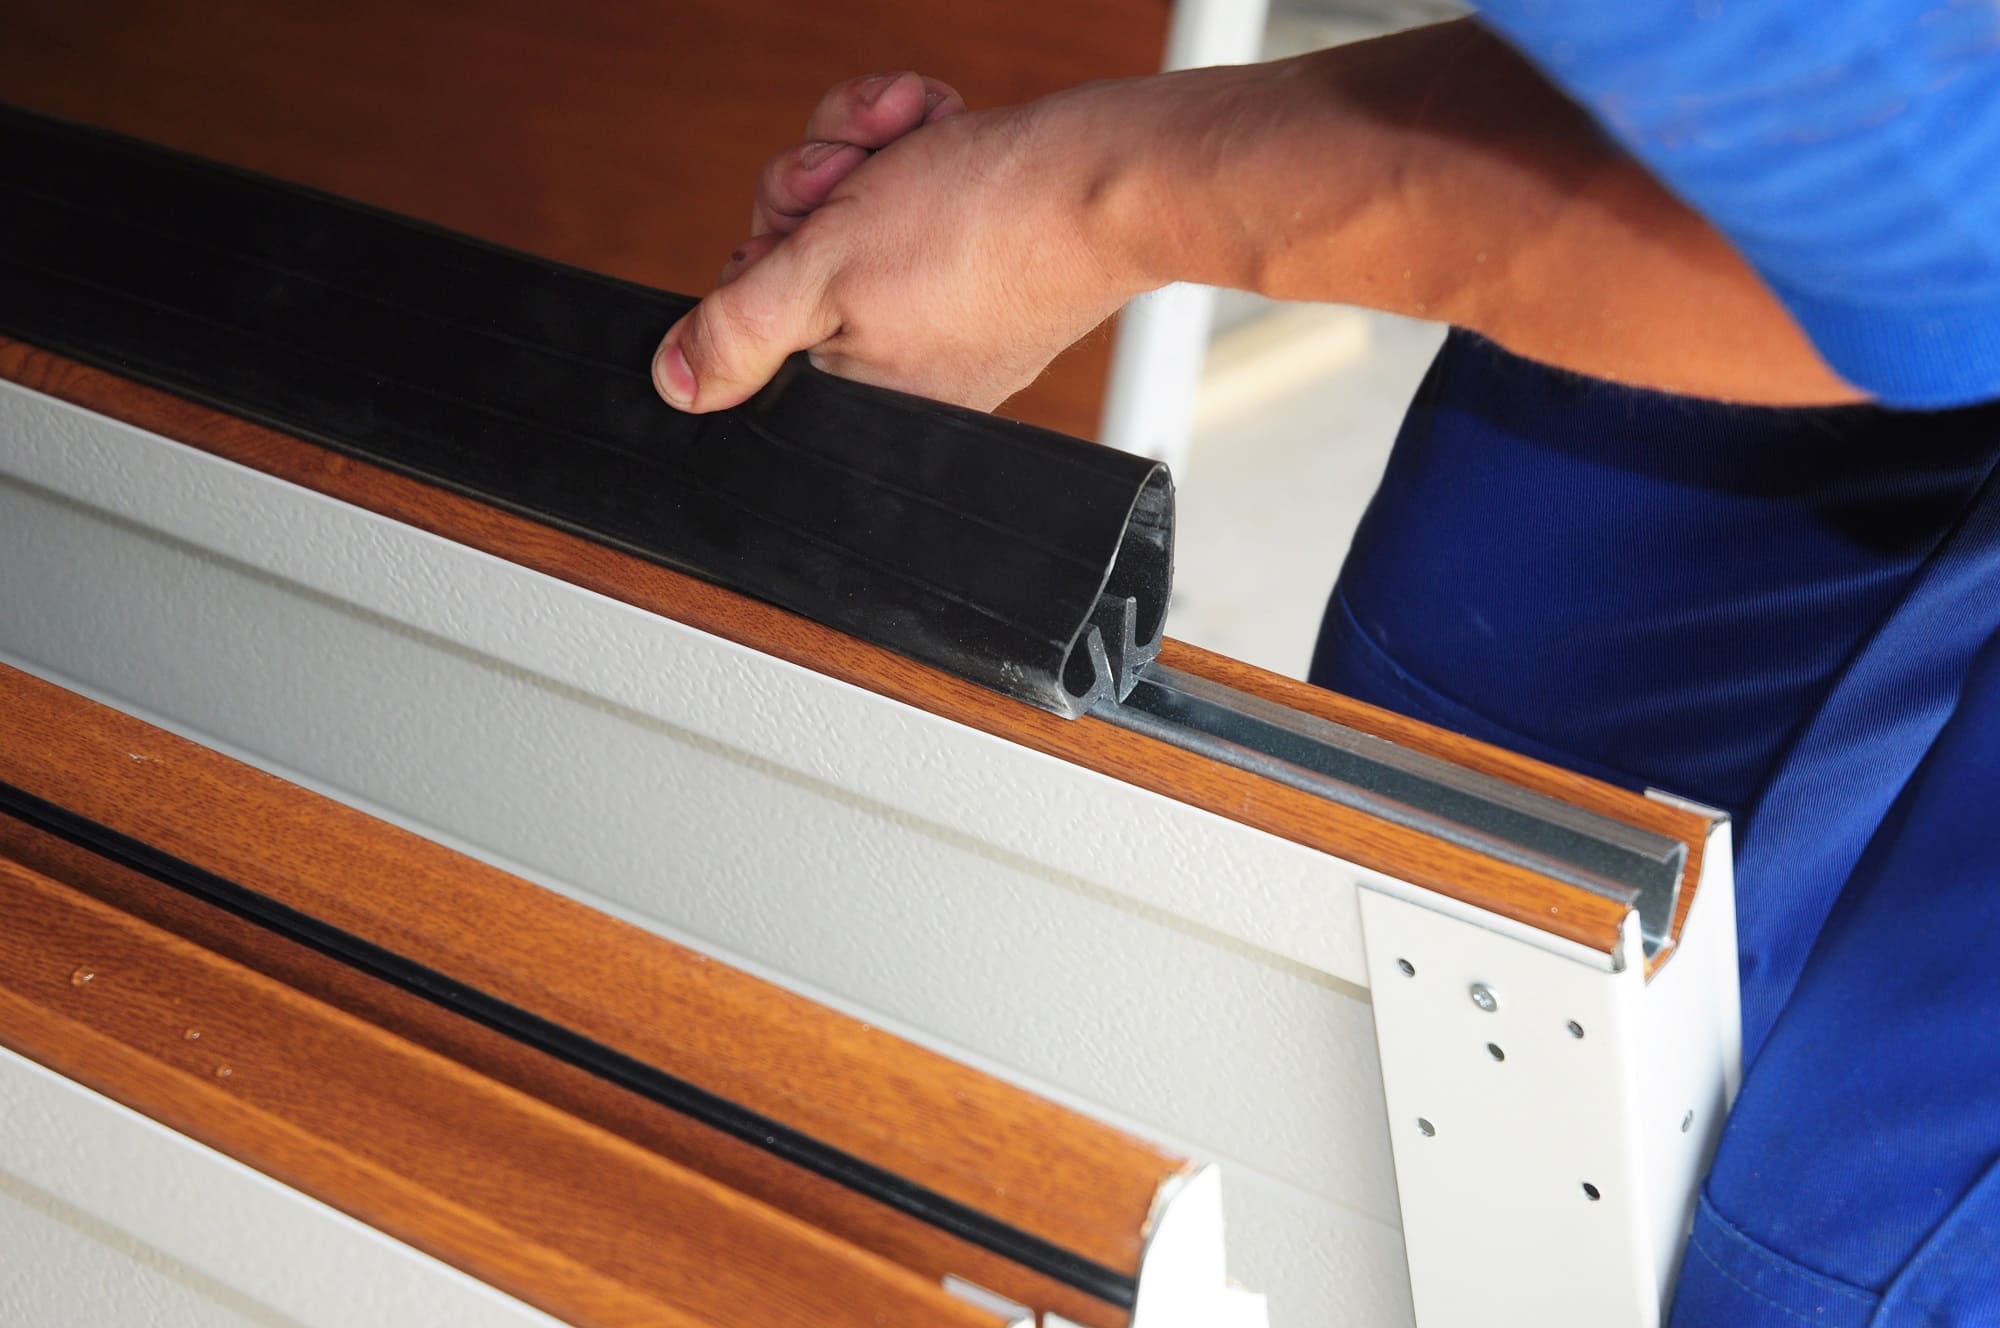
Weatherstripping Materials
The last material you need for the project is doorstop vinyl weatherstripping. You may not find it in your garage door insulation kit, but it’s essential for finishing the job. The vinyl weatherstripping seals the top and side of your garage door. Make sure you buy enough for the project and make sure you replace all existing tracks, especially if they are damaged.
Using weatherstripping materials along with R-8 or R-4 insulation is the best way to insulate a garage door. It stops rain, debris, and pests from slipping through the cracks and damaging any vulnerable items in your garage.
Lowe’s has a helpful insulation calculator to help estimate how much it will cost to insulate your garage door. If you want to create a detailed budget, consider using the calculator to get an appropriate evaluation of all the materials listed above.
How to Insulate a Garage Door in Seven Steps
Now that you have gathered all the necessary materials, you can start tackling the project. It may seem like a daunting task to insulate a garage door, especially if you want to do it yourself. However, you do not need to be an experienced handyman to achieve the desired results.
This type of project requires only an intermediate level of experience and should take you only a day or two to complete. If you follow these seven easy steps for how to insulate a garage door, your door will look like a professional insulated it.
Step 1: Measure, Mark, and Install the Retainer Pins
The first thing you need to do is use a tape measure to measure a spot that is 12 inches from each side of the door panel and halfway between the horizontal rails. Once it’s measured, mark the location. Each marking should be vertically centered, and make sure you mark each subsection.
The next thing you need to do is peel off the adhesive backing paper from the retainer pins and press the base on to the panel. Continue installing the retainer pins on each marking.
Step 2: Cut the Foam Board Insulation
Whatever insulation material you decide to use for the project, the next step requires cutting it in the appropriate length. While pre-cut foam core panels are available, they won’t always have a snug enough fit. First, roll out the insulation with the vinyl side facing downward. Measure the foam insulation with a tape measure and mark the cutting lines.
Panel lengths may differ, so measure each one separately rather than cutting all of the portions the same size. Then, place the insulation on a hard, stable surface, such as plywood or concrete. Compress the panel with a straightedge, then cut with a knife.
Step 3: Lock the Cut Insulation in Place
Now that you have your foam board cut in the appropriate length, center the insulation with the panel and push it against the retaining pin so it pierces the vinyl facing surface.
Once the retainer pin pierces the board, push the insulation deeper in place with a retainer cap until it snaps into place. Once it’s secured, repeat the process until all of the garage door insulation panels are insulated and secured.
Step 4: Frame the Doorstop Weatherstripping
To test fit the doorstop, place it along the edge of the garage door and the side jams. Angle the weatherstrip at 45-degrees. Then secure it in place temporarily by pounding the nails into the side only partway.
Step 5: Readjust the Weatherstripping to Accommodate Door Movement
To replicate the effect of a strong wind, apply significant pressure to the garage door’s exterior. Next, move the doorstop inward to achieve a secure seal. Gaps may not be the same length for every spot alongside the garage door, so check the doorstop at several locations and readjust when necessary.
Start at the top of the garage door. Apply pressure to replicate wind, then pound the nail into place to secure the weatherstripping. Repeat the process, working your way down to the bottom of the door. If you are unable to fasten the doorstops properly or you can see light shining through after it’s fully applied, you may need to replace your existing hinges with spring-loaded hinges. Spring-loaded hinges press the garage door against the weatherstripping continuously.
Warning:
Don’t touch the springs or modify them yourself. That can be extremely dangerous. Instead, call a professional to inspect or replace them.
Step 6: Install a Brand New Bottom Seal
Now that the back and sides of your garage door are insulated and secure, you can tackle the final portion of the project: the bottom seal. To remove the bottom seal track slots, use a flathead screwdriver and bend it out of place. Repeat for both sides until it is completely removed.
Step 7: Slide the New Bottom Seal into Place
Once you remove the old bottom seal, spray the bottom slots with silicone or dishwashing detergent. Then, grab your new vinyl seal and slide it into place along the bottom of the insulated door.
If there is excess vinyl, you can cut it with a utility knife and fastens the ends with a pair of pliers. You must crimp each side of the viny seal properly. Doing so ensures a tight seal and prevents the vinyl from breaking or cracking.
Check Your Insulated Garage Door
After completing all of the steps for how to insulate a garage door, test the door. If it’s properly balanced, the garage door should stay in place if lifted halfway. Unfortunately, if the door falls after letting go, it means it is unbalanced.
An unbalanced door can damage the garage door opener, causing further complications. If that is the case, consider hiring a garage door service company, so they can readjust the spring tension in the garage door.
If your insulated garage door is balanced and everything is in place, then congratulations — your garage door is properly insulated! With the knowledge you gained from this home improvement project, you teach other friends or family members about how to insulate a garage door, too. You can also tackle other DIY projects, such as insulating your attic with batt insulation, which provides many of the same energy savings and other benefits as insulating your garage door.